![log.[in]](https://img.itch.zone/aW1nLzE0NTcyMjAucG5n/original/X8Lu0C.png)
log.[in]
Walkthrough [SPOILERS]
log.[in] walkthrough
This guide will teach you how to:
- Get both endings.
This guide will NOT teach you how to:
- How to trigger secret events.
- Where to find all collectables.
-Ending 1-
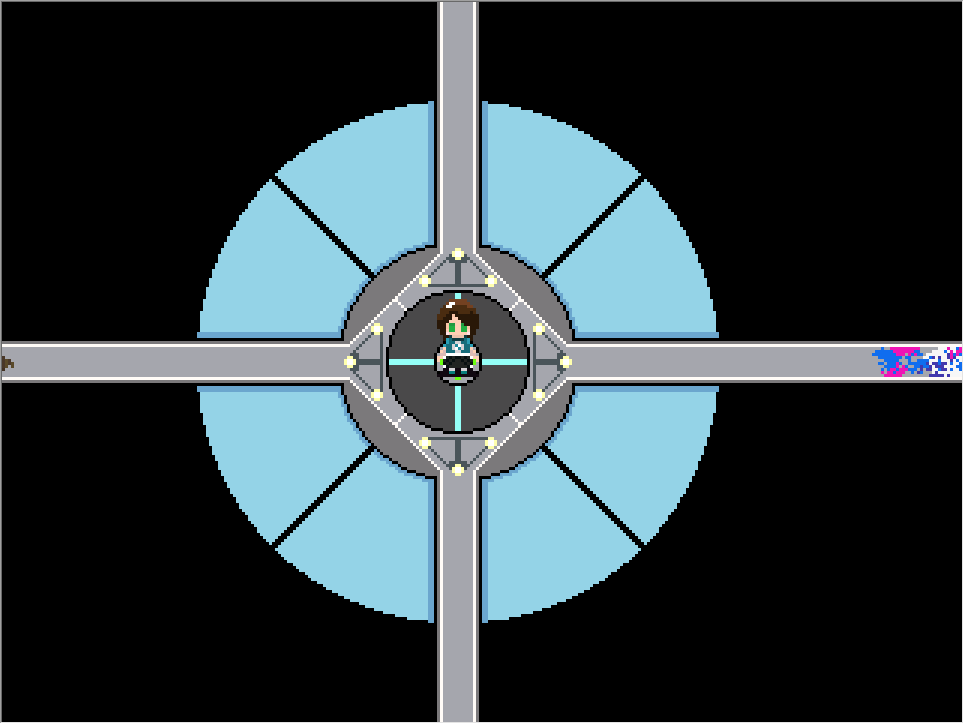
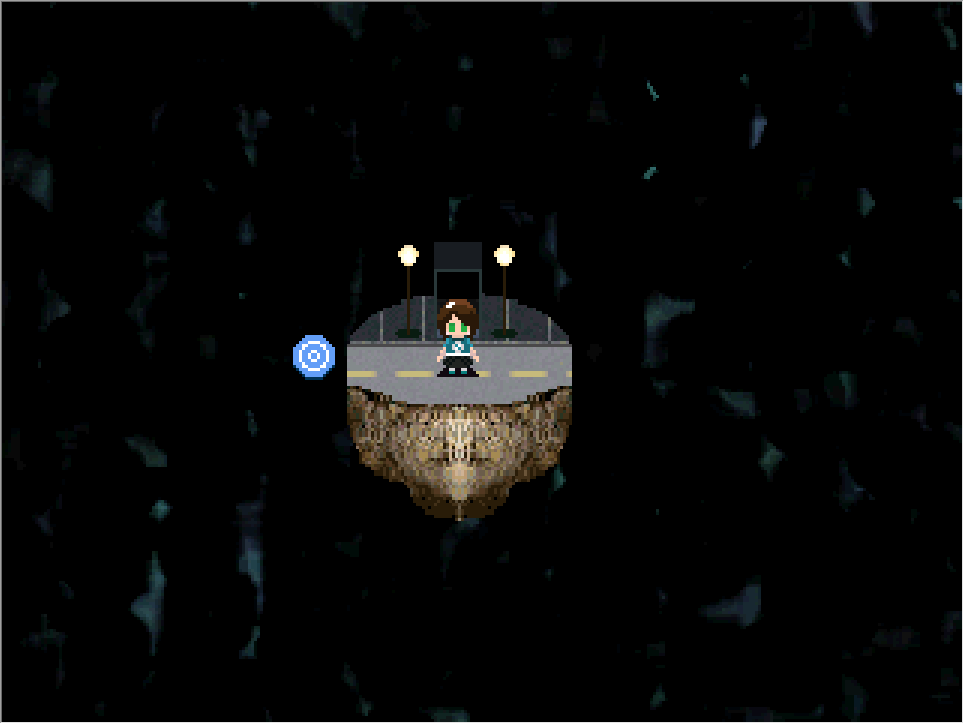
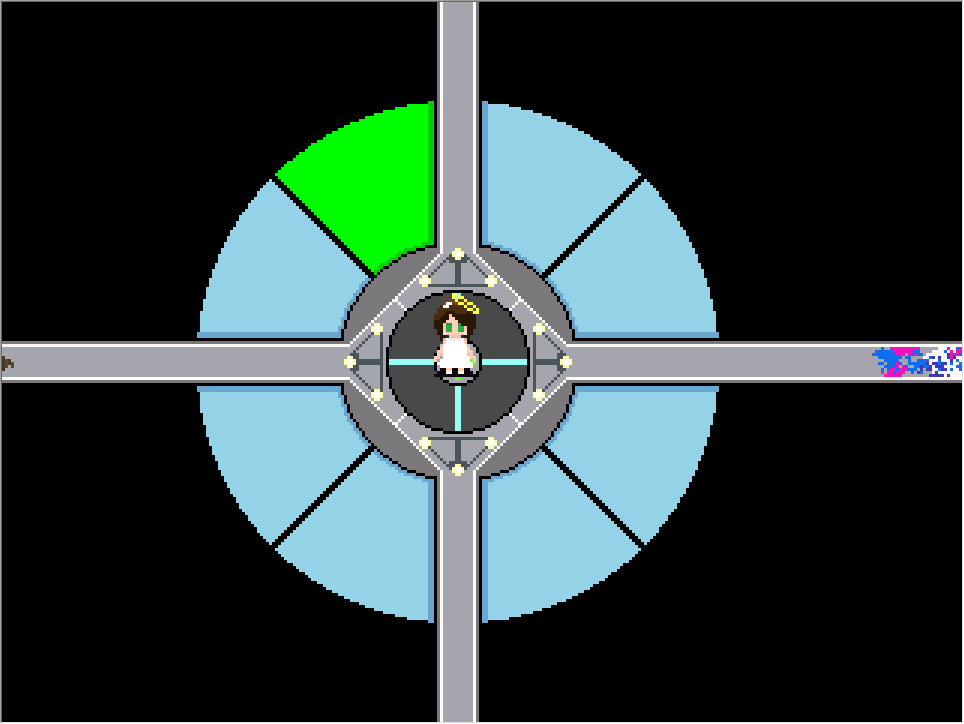
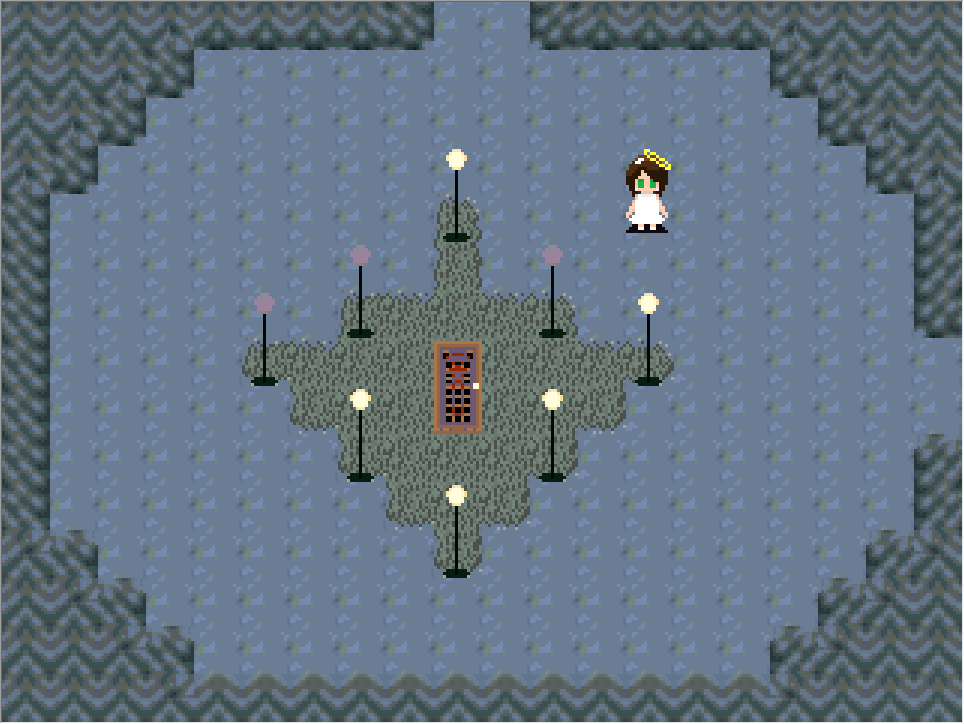
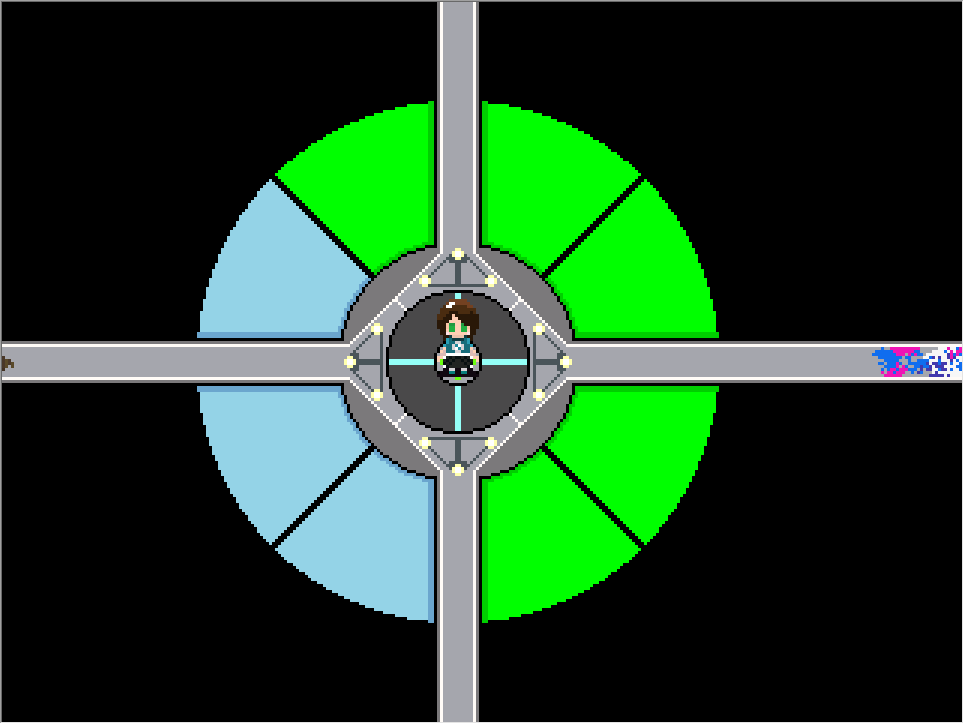
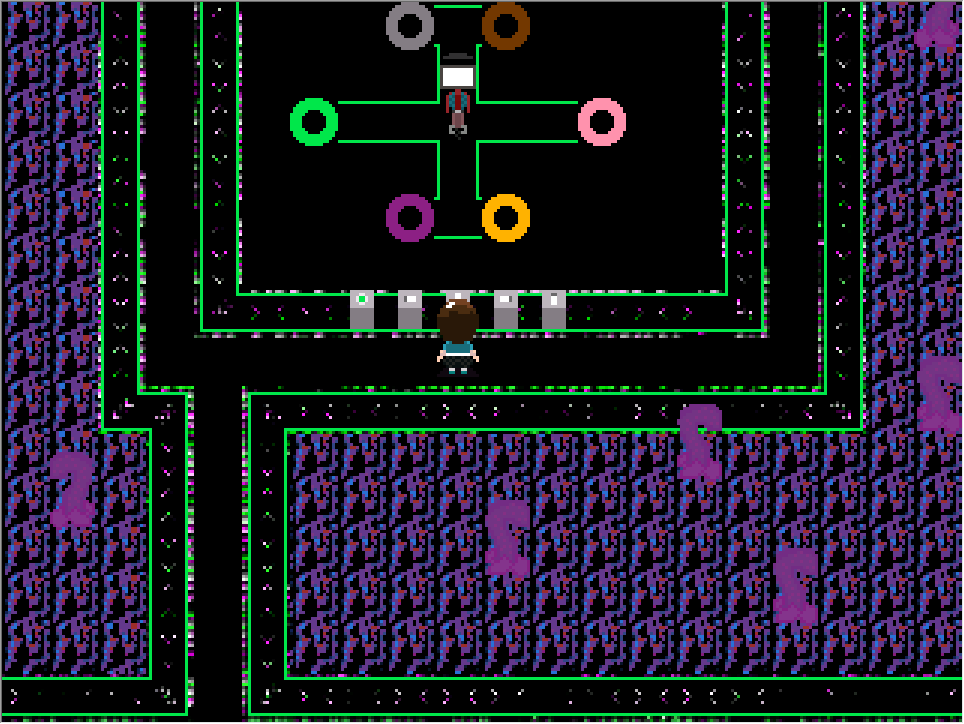
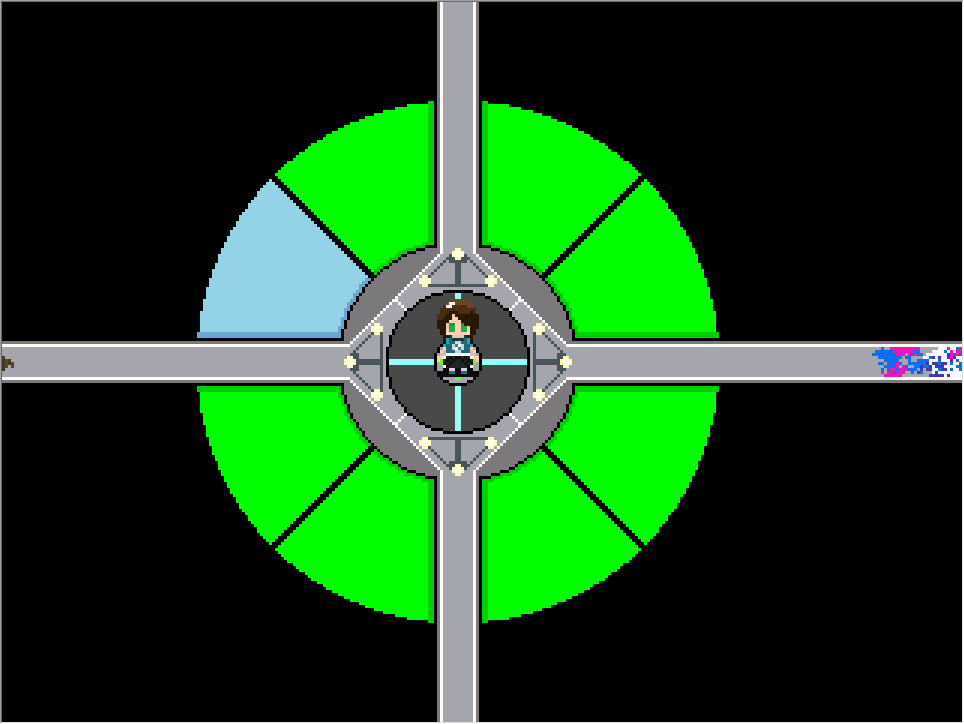
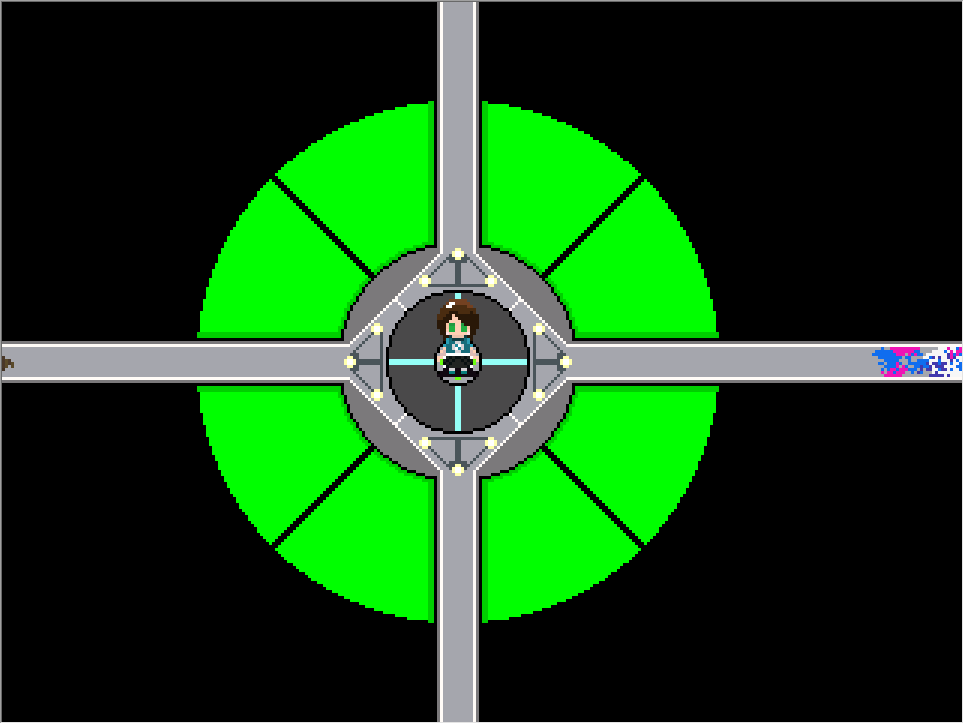
Requirements: Gather all 12 effects. Once you have them all, go to the nexus and interact in the middle of the map.
Top world effects:
-Vir-B
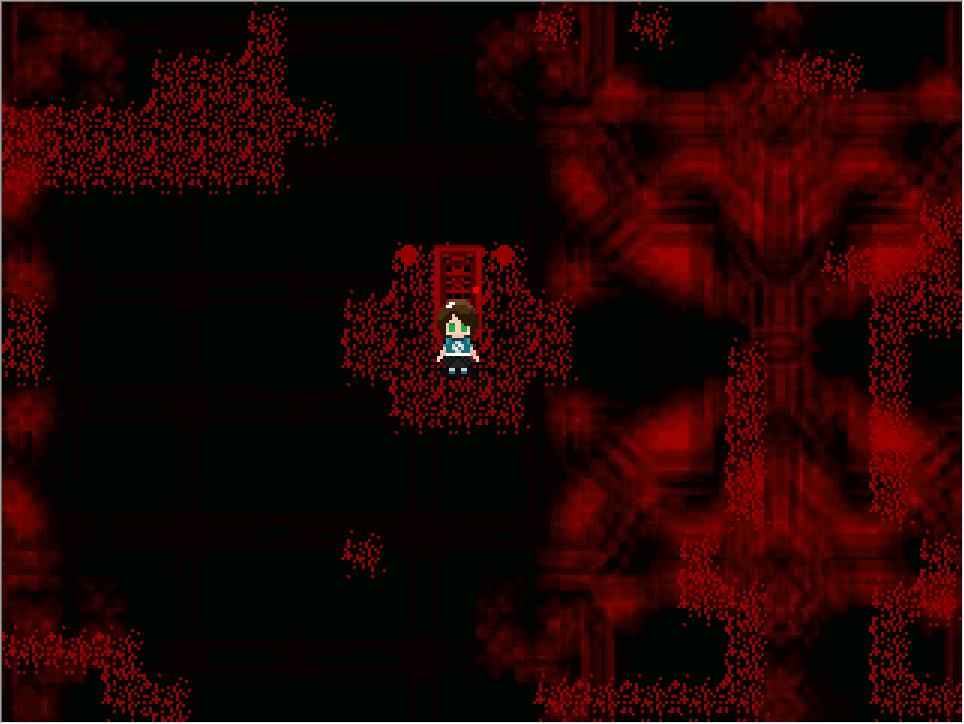
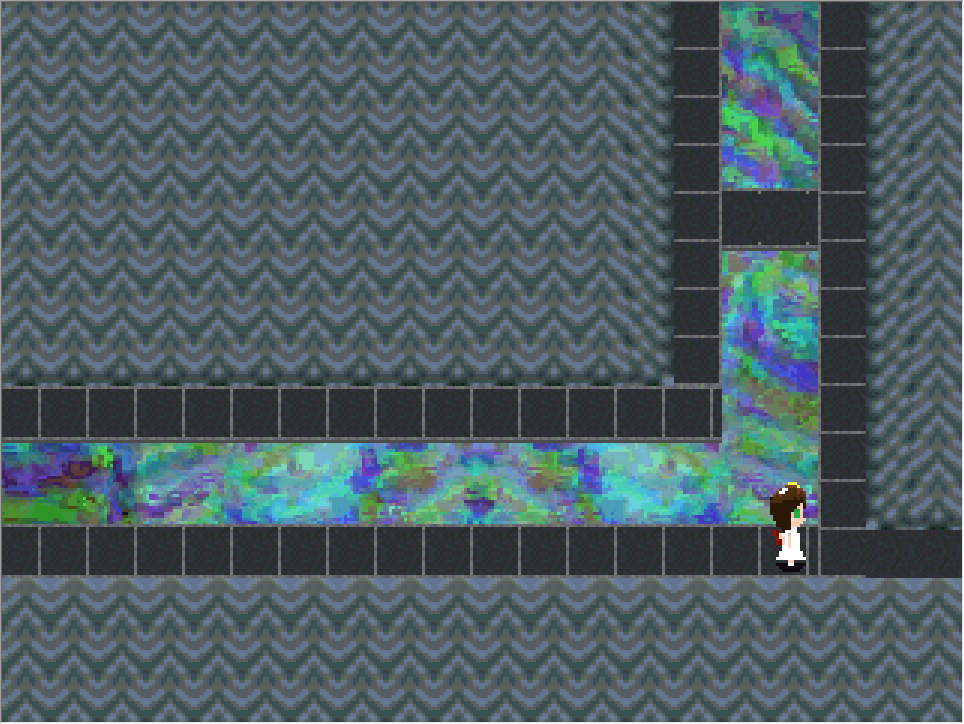
To find this effect make your way to this map:
Go down, and enter the red door. You should now be in this place:
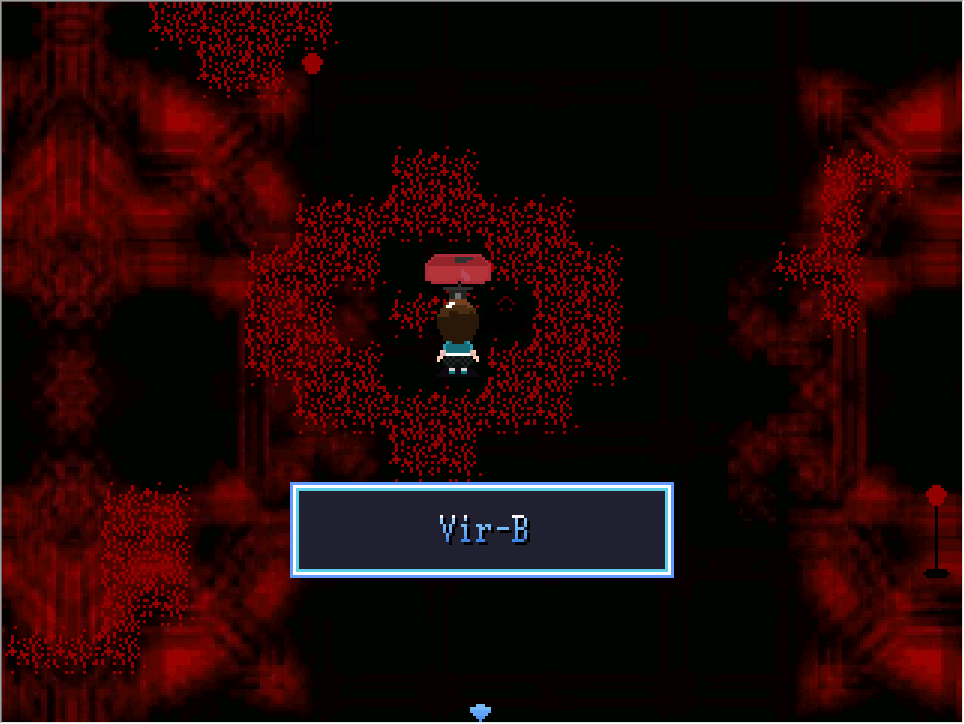
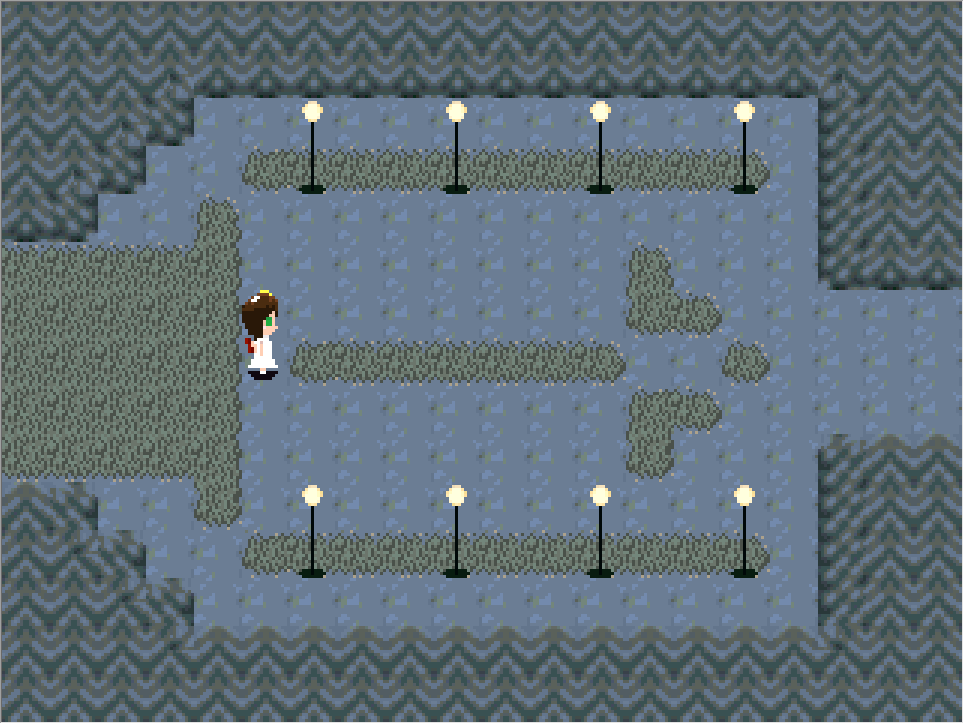
From here, move to the left until you find another lamp post, then, move upwards and you'll find the Vir-B walking around. Interact with it to get the effect.
-Bandage
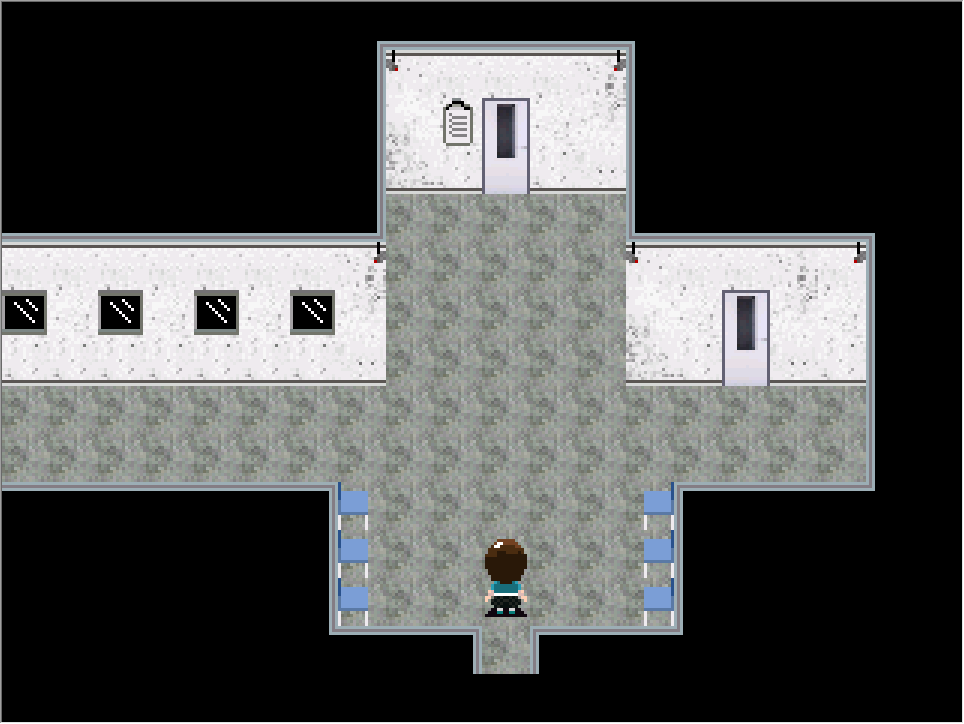
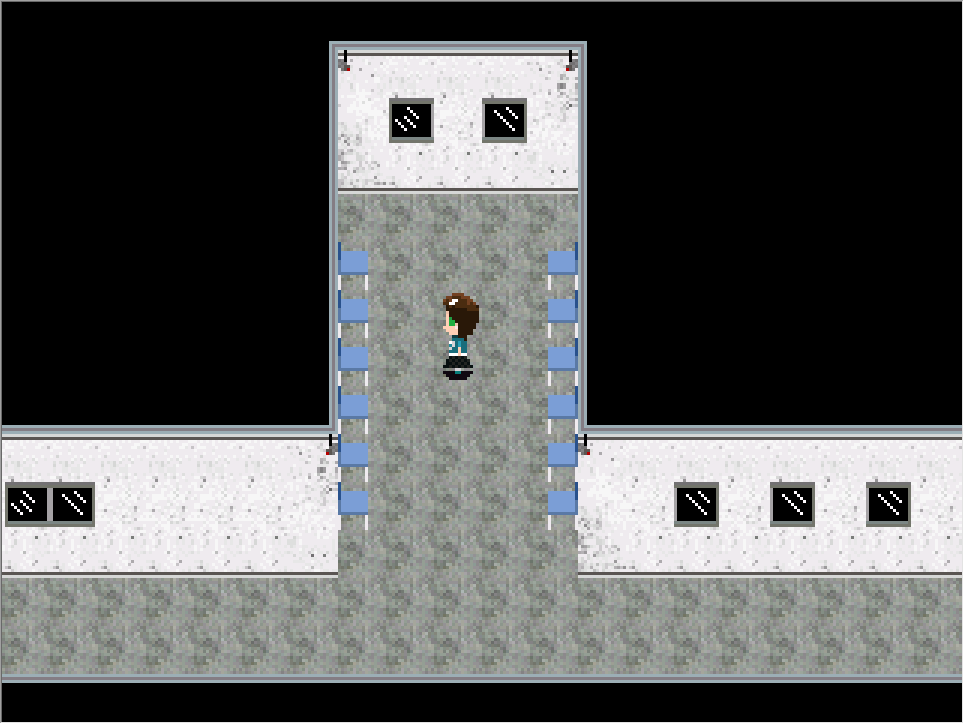
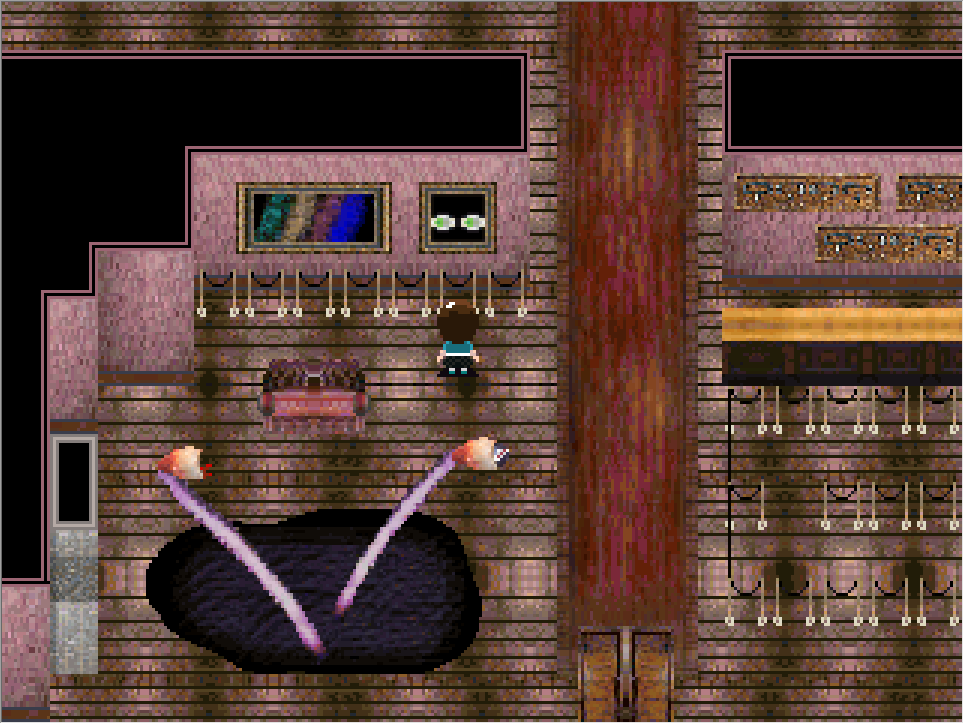
Return one screen before going down into the door leading to the Vir-B effect. Now, go upwards. You should arrive to this place:

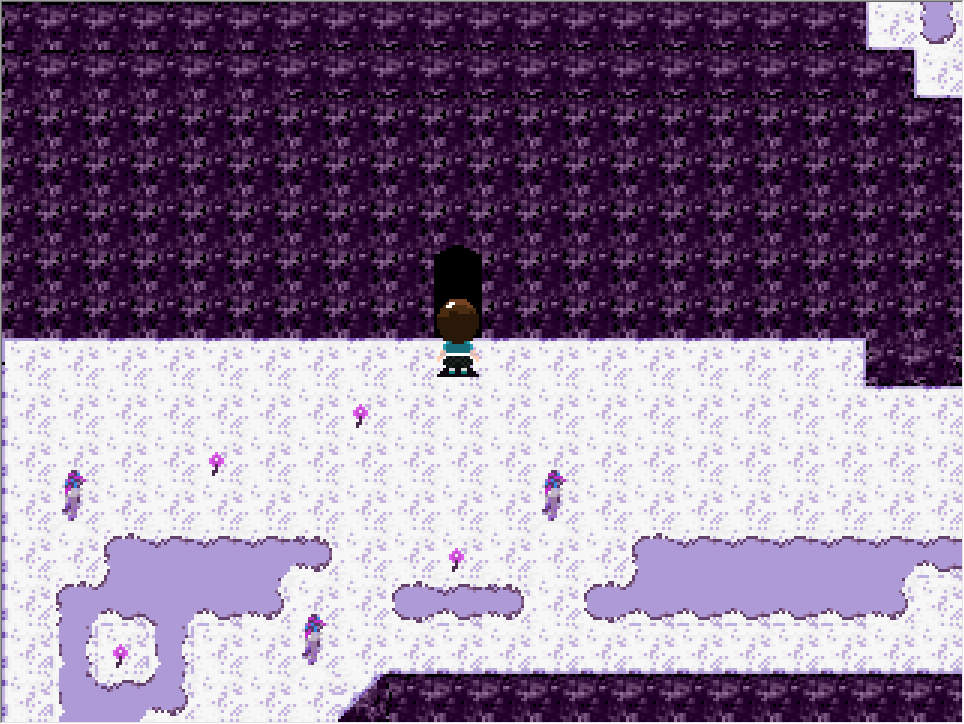
Enter the building, enter the next room, and quickly rush to the right and enter the door to your left. Do not stop, there are monsters chasing you and if they caught you they'll throw you back into the first room. You should arrive here:
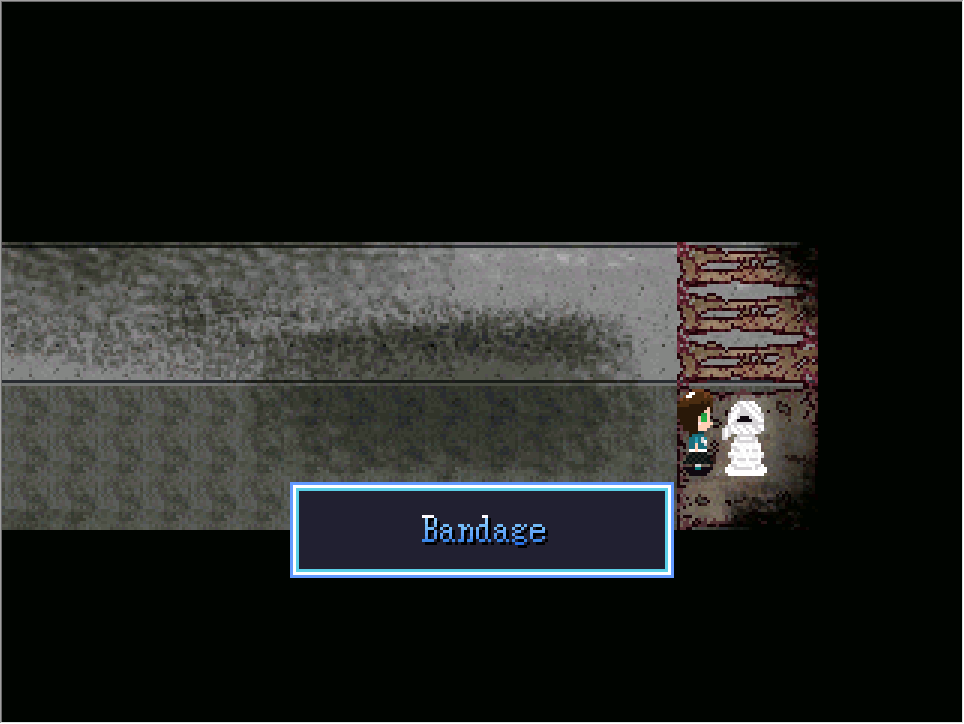
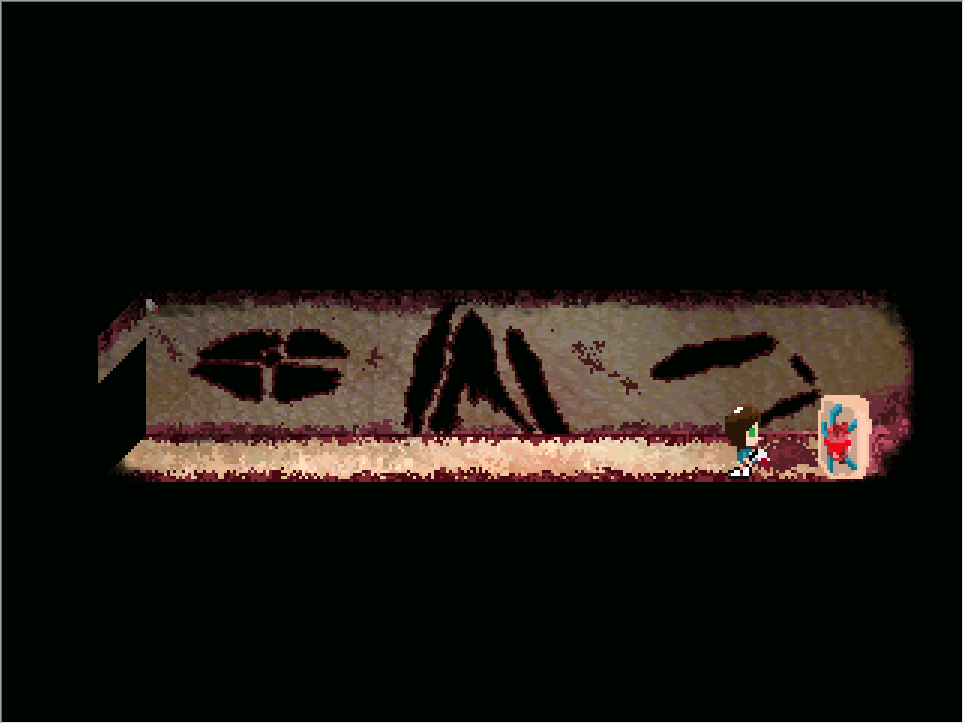
Enter the leftmost room, go down the hole, walk all the way to the left, and interact with the bandaged thing to get the effect:
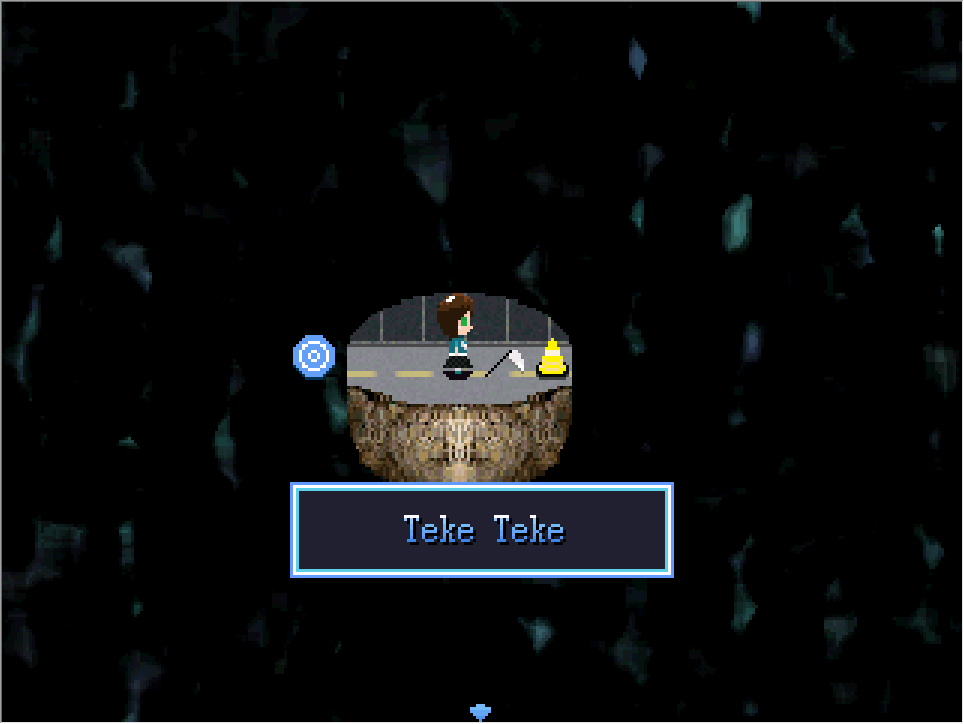
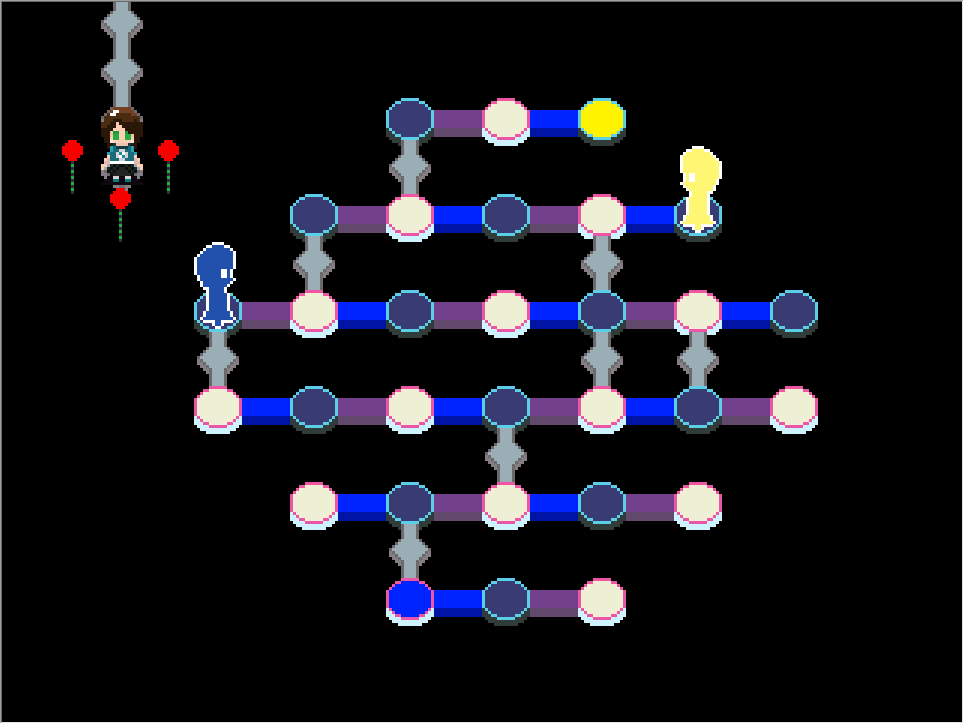
-Teke Teke
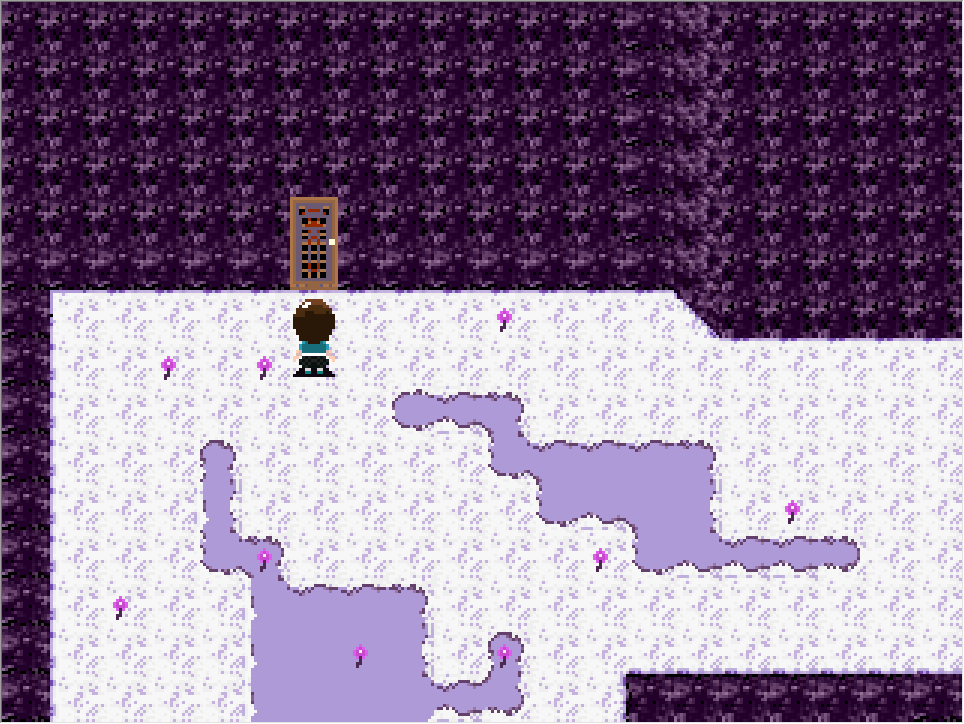
Equip the bandage effect and go back from where you came. Monsters won't chase you now. Exit the building and go down one screen back to this one:
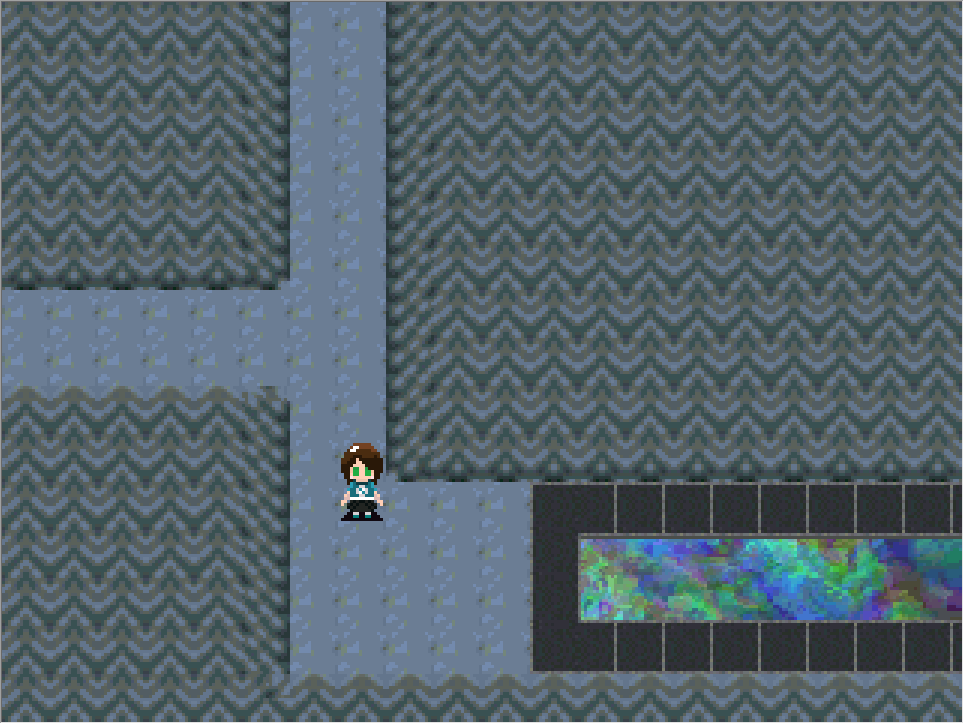
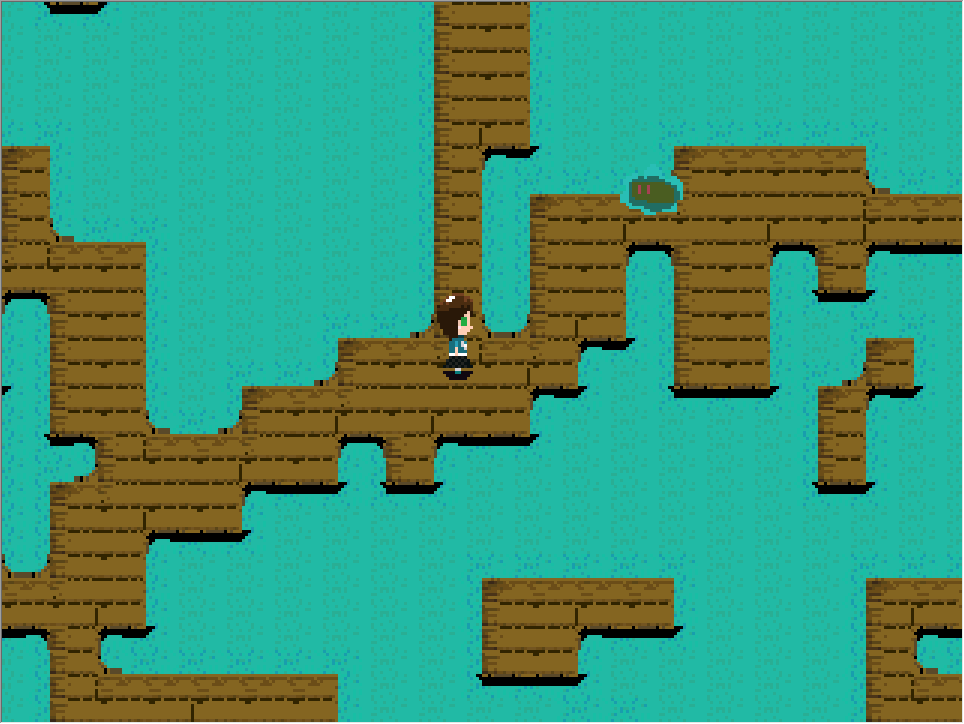
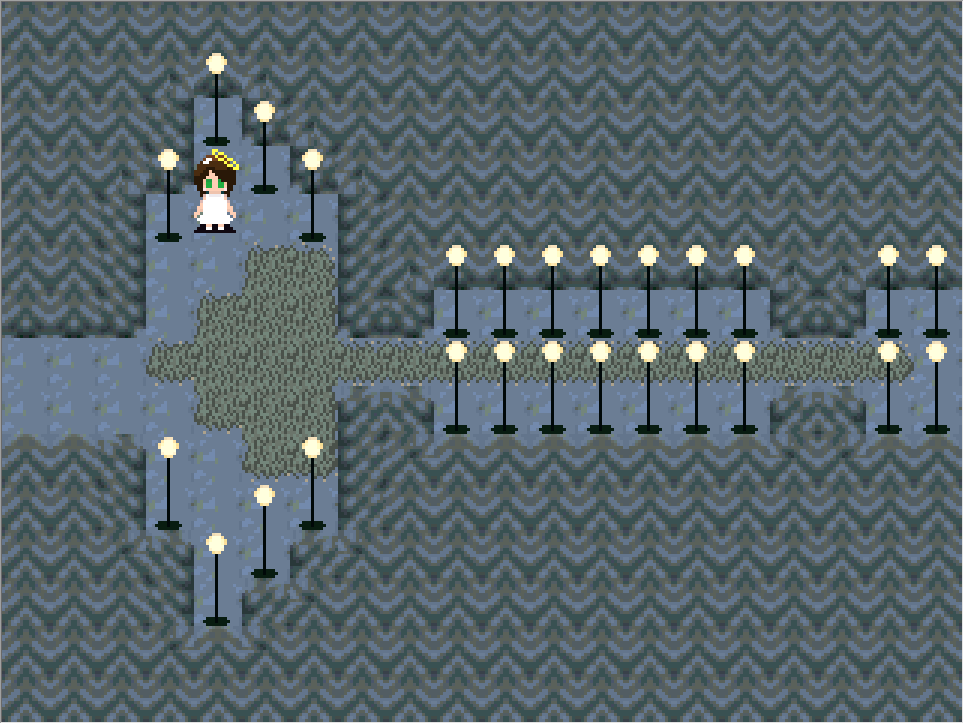
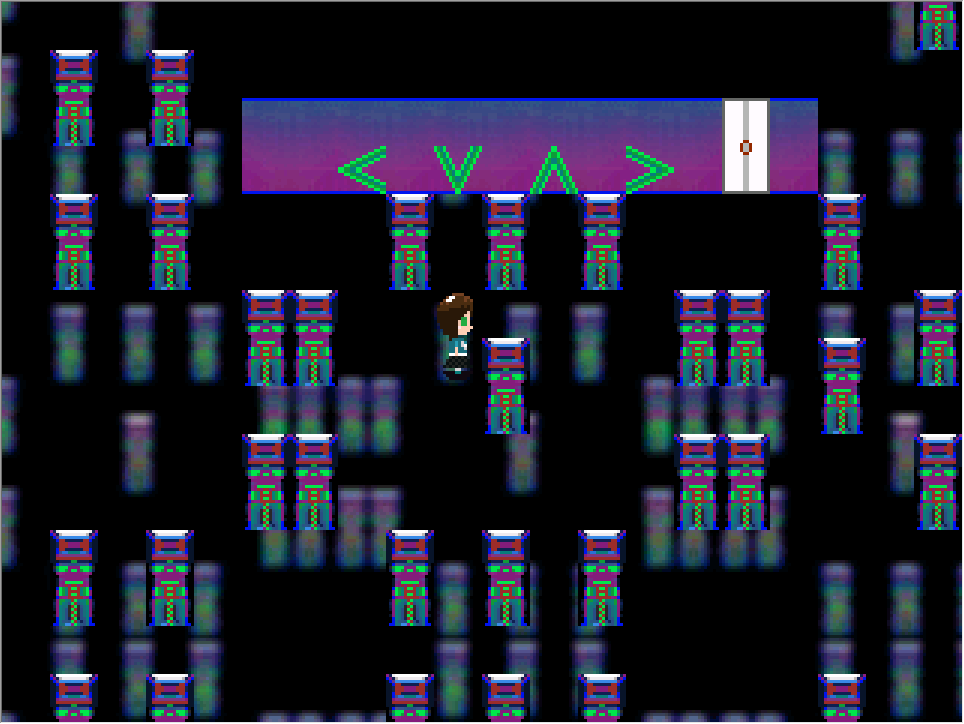
Go to the right and take the upper path. Keep going right, once you get to a small bridge, cross it and go upwards. Go down the stair entrance by pressing Z. You should arrive to this map:
Keep interacting with the blue things until you reach a scythe. Interact with it and you'll get the effect:
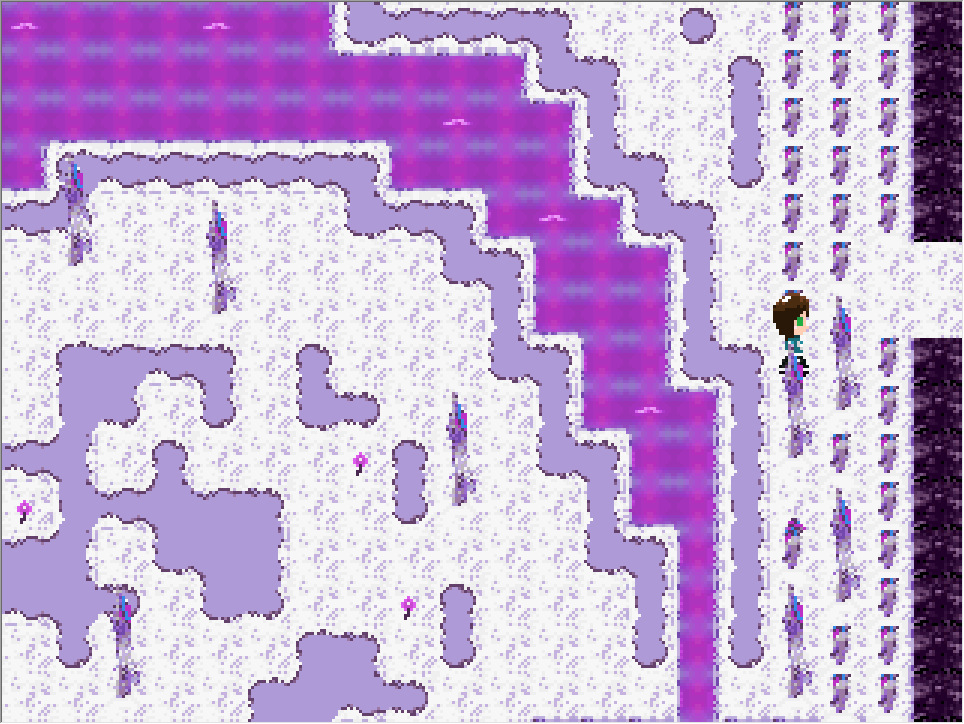
Right world effects:
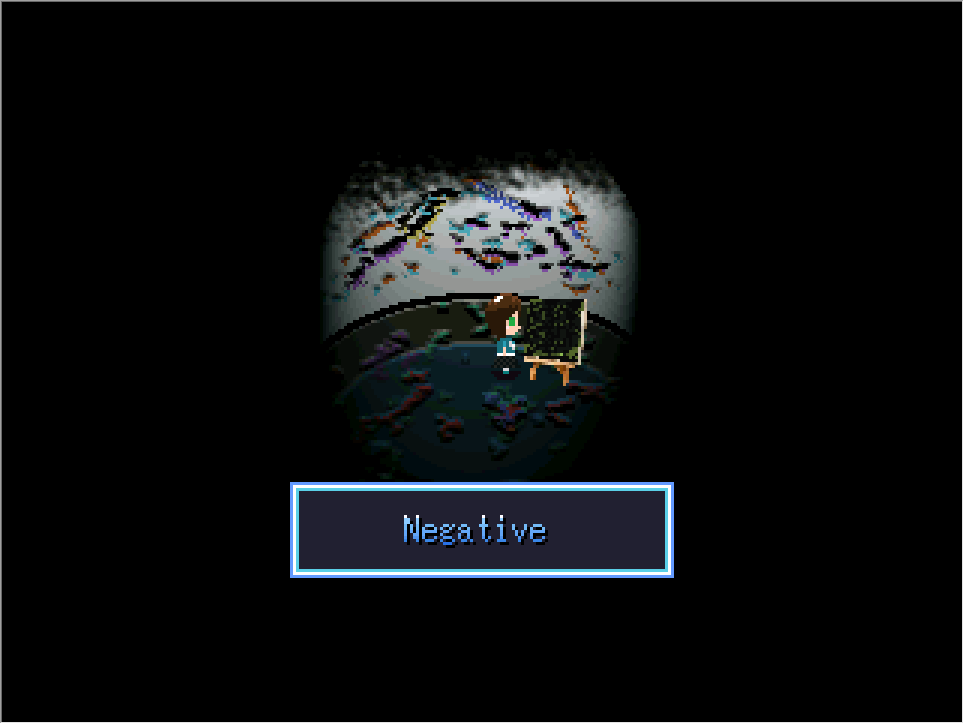
-Negative
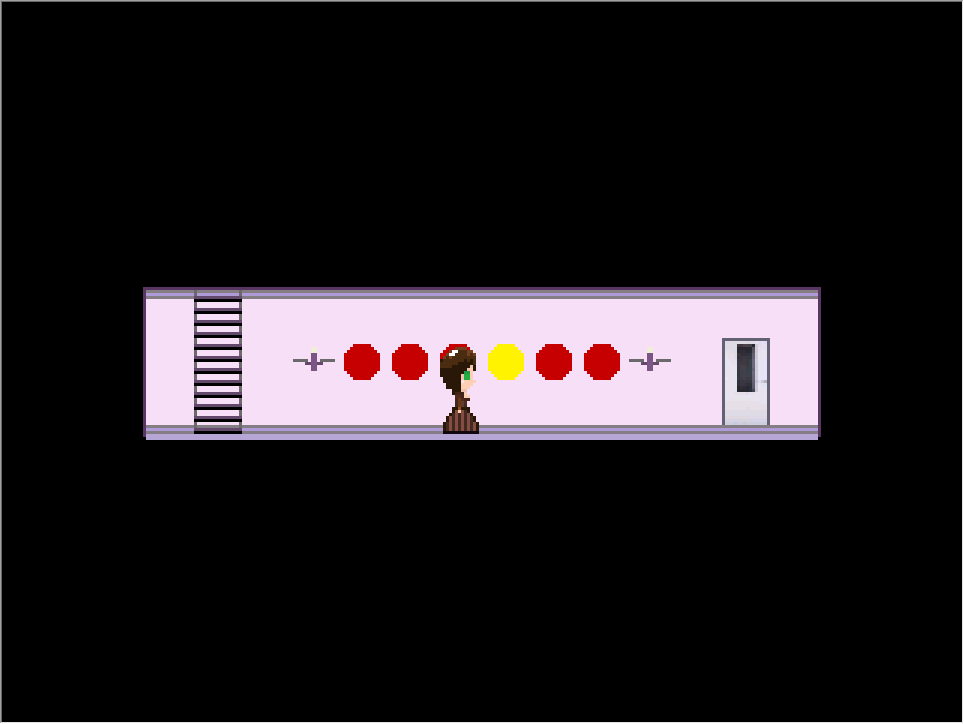
Go to the left pass the first set of stairs. Go down the second set of stairs and then go to the left. You should find this door:
Open the door and interact with the weird canvas inside the place. You'll get the effect:
-Battery
Climb the stairs back and then climb the other set of stairs. Advance 2 maps to the left and you should find a battery floating around. Interact with it and you'll get the battery effect:
-Glitch
Go back 2 maps to the right. Keep walking to the right, cross a bridge, continue walking to the right until you can't advance. Now walk down and go through this set of trees to get to the next map:
Keep going forward and enter the hole. Climb the third set of stairs by interacting with them, you should arrive to this map:

Interact with the glitchy looking NPC to get the glitch effect:

Bottom world effects:
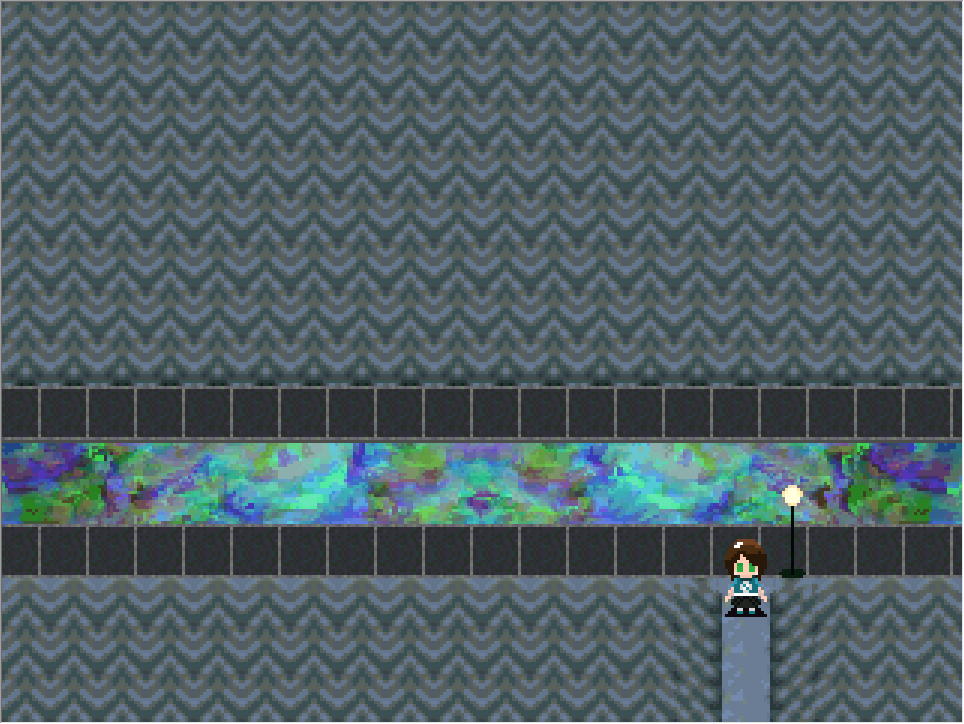
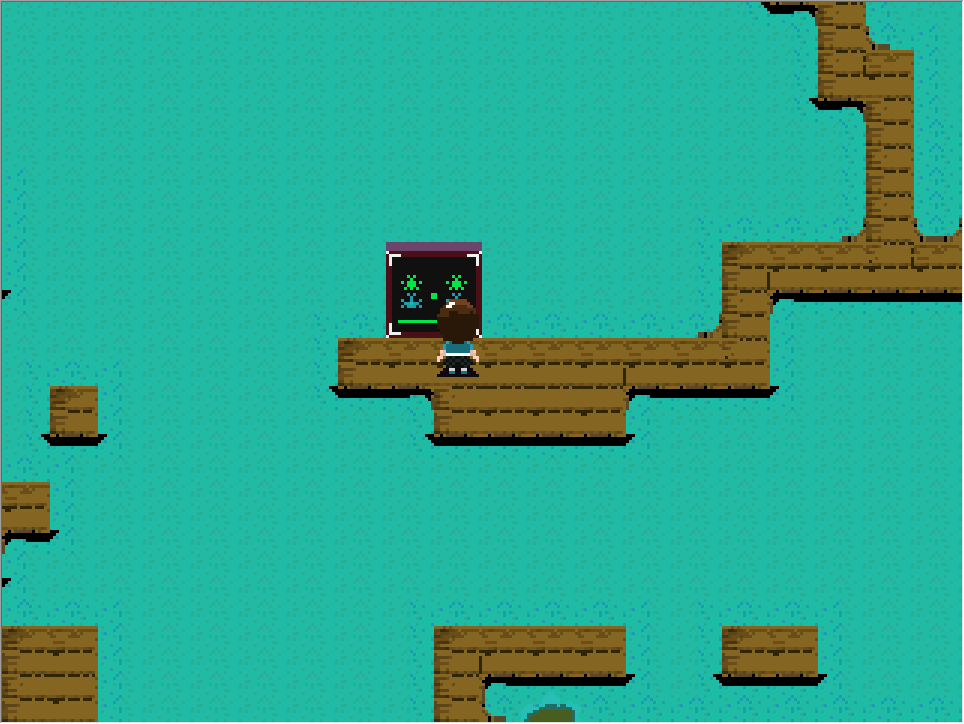
-Smartphone
Move to the left and up the pathway. Interact with the smartphone to get the effect:

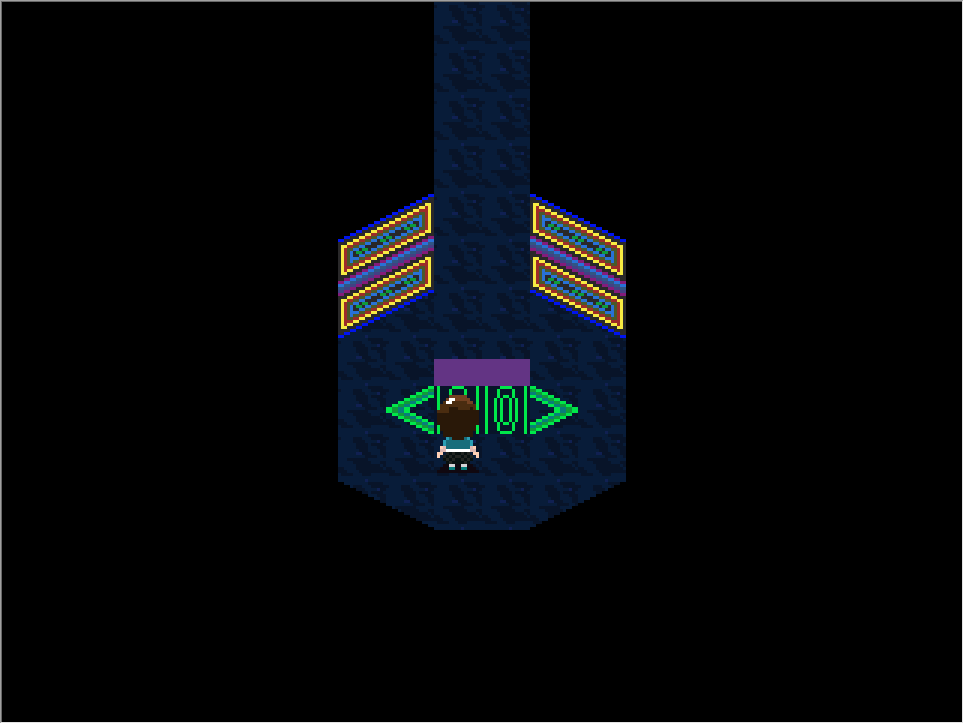
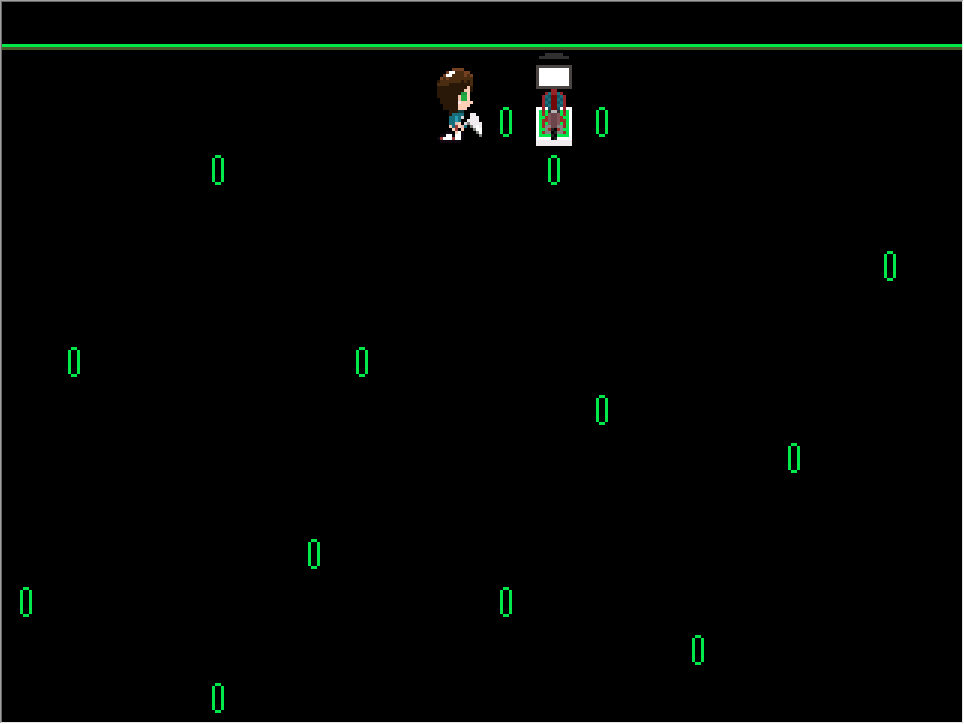
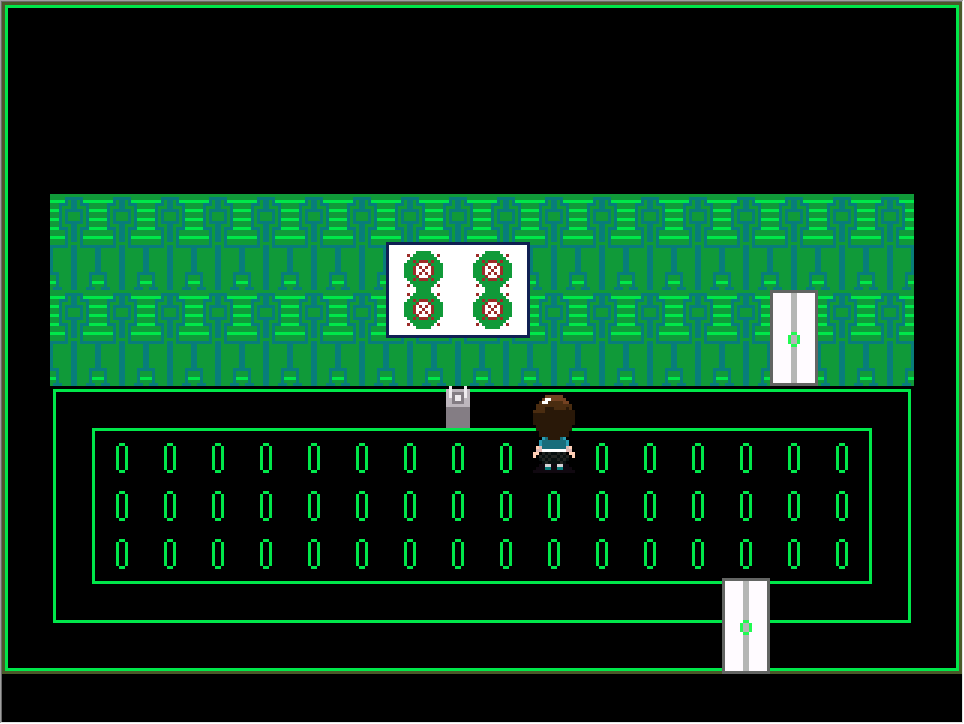
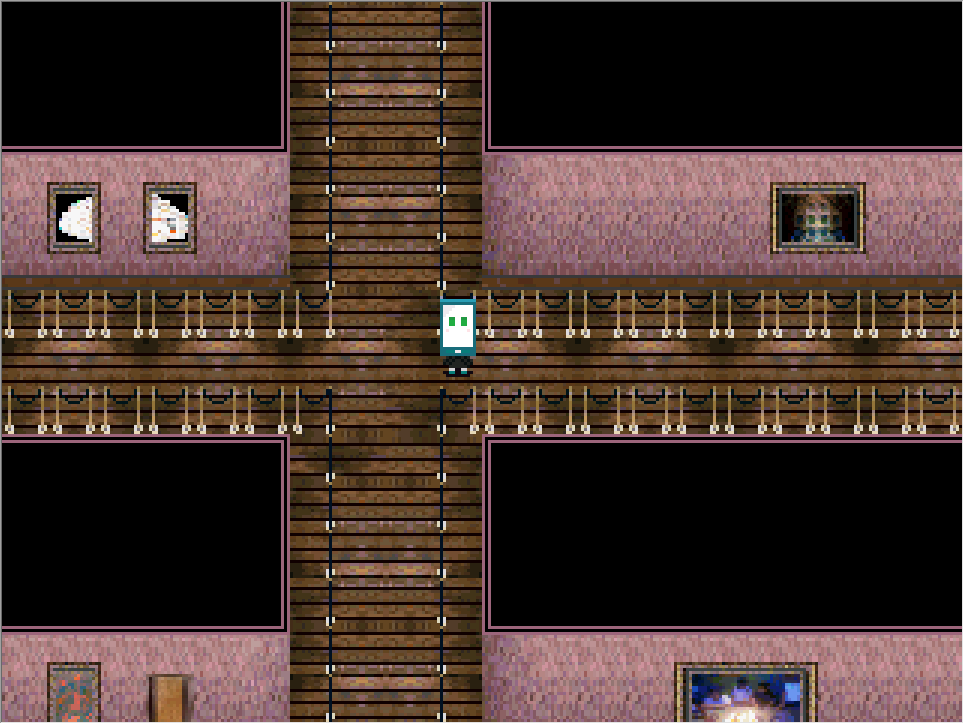
-Binary
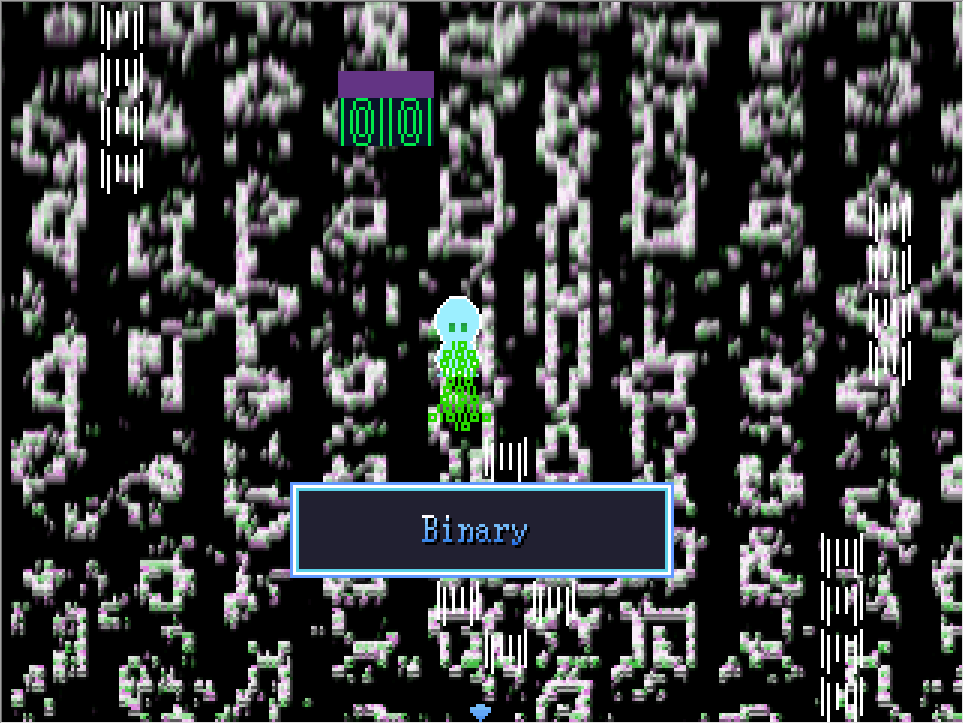
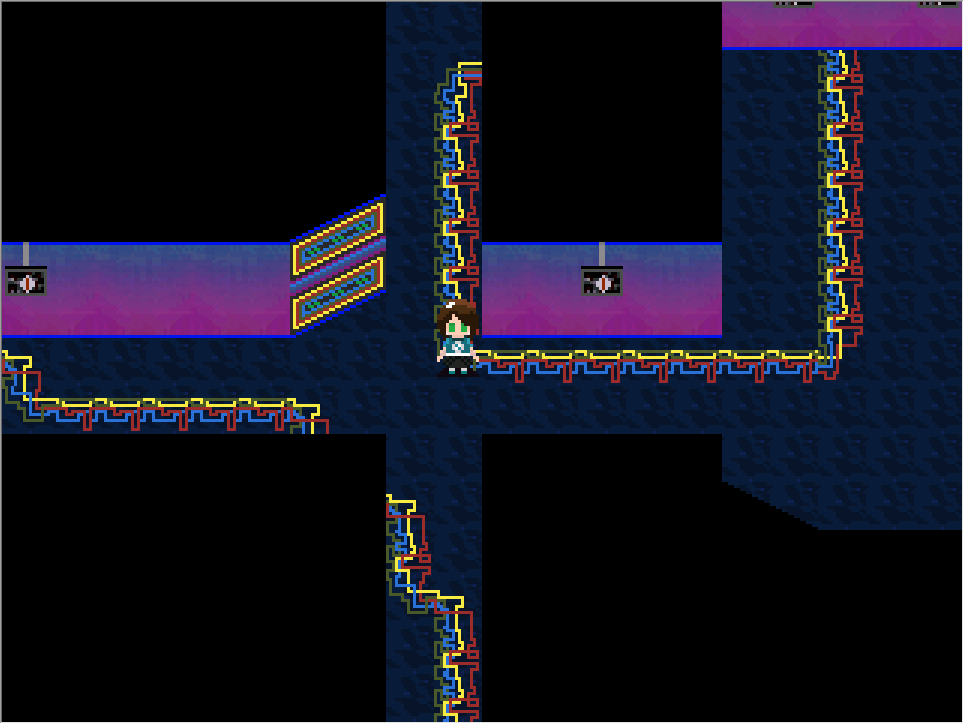
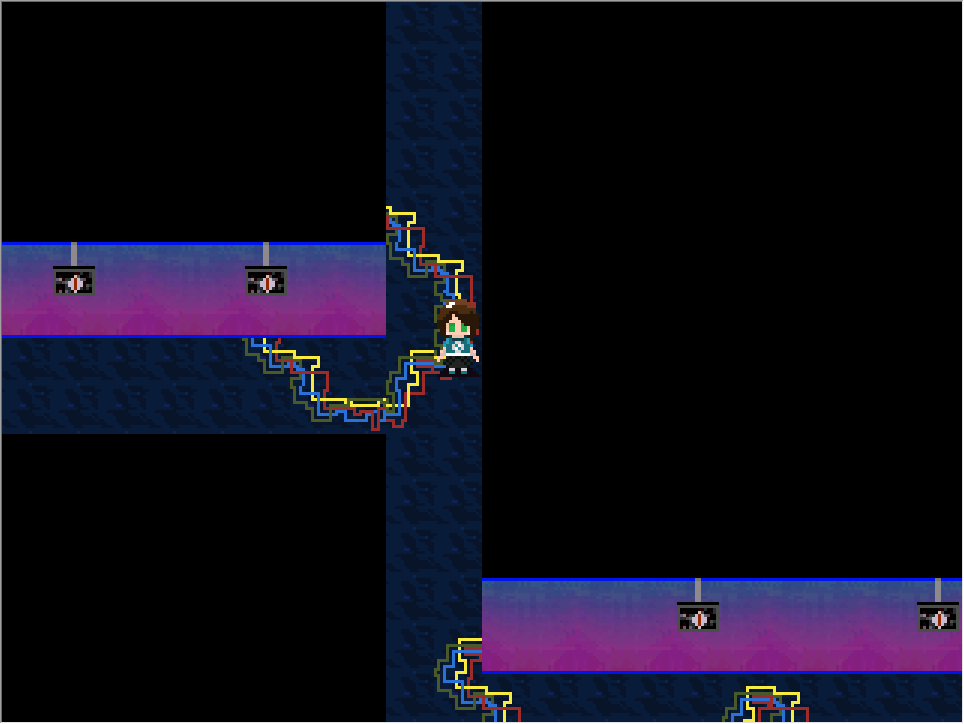
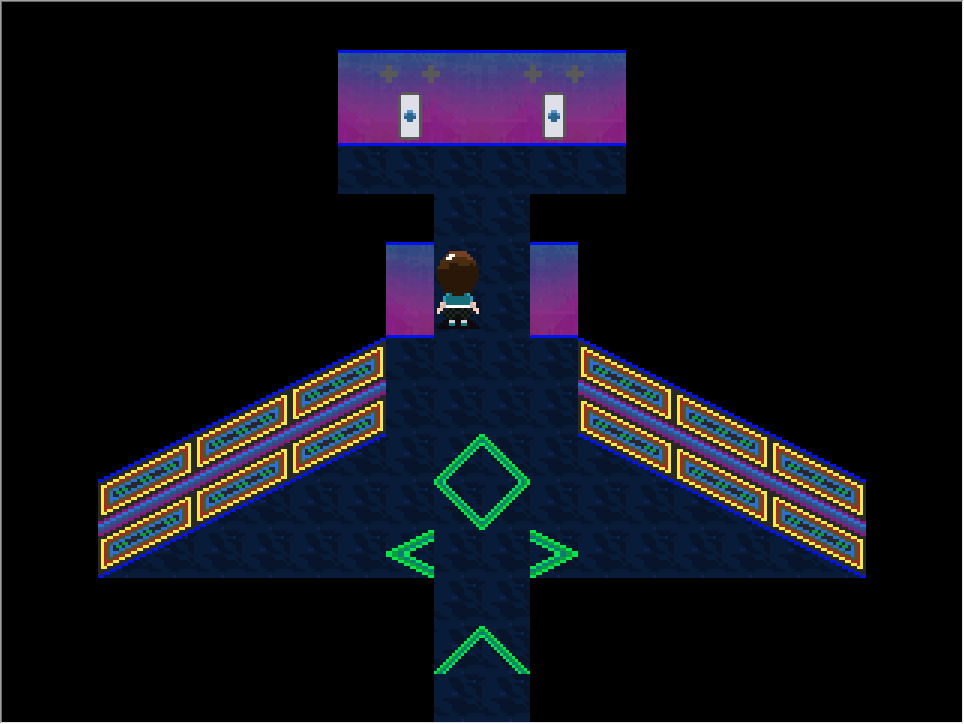
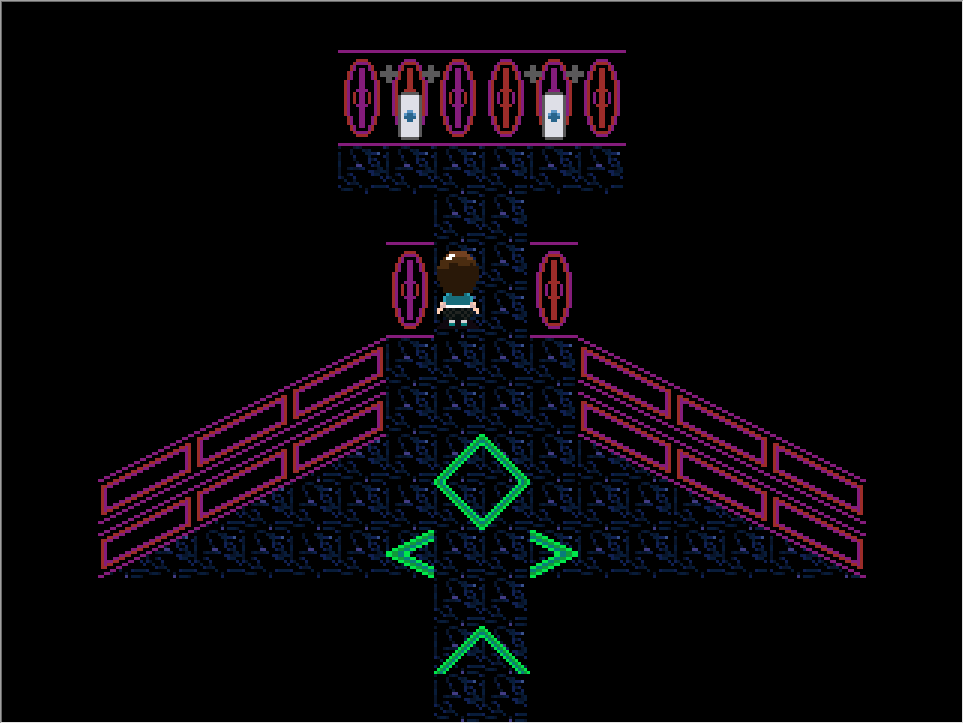
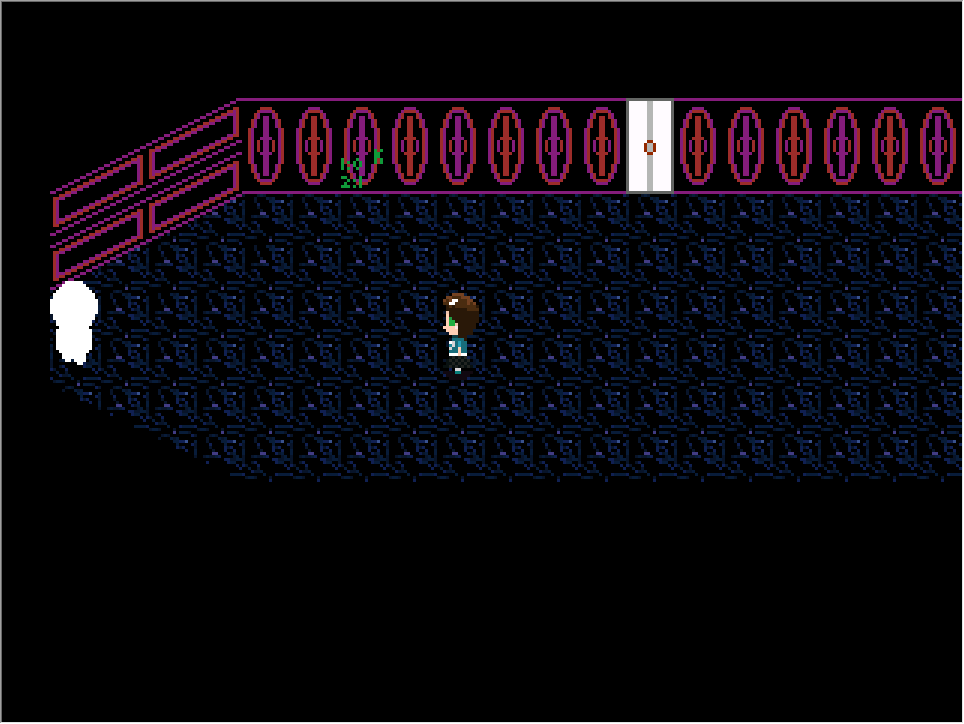
Go down one map and now to the right. You should arrive at a four-way intersection. Go through the bottom path. Interact with the wall with 0's in it and you should be teleported to another map:

Equip the Data Stream effect and find the NPC made out of binary code. Interact with it and you should get the effect:
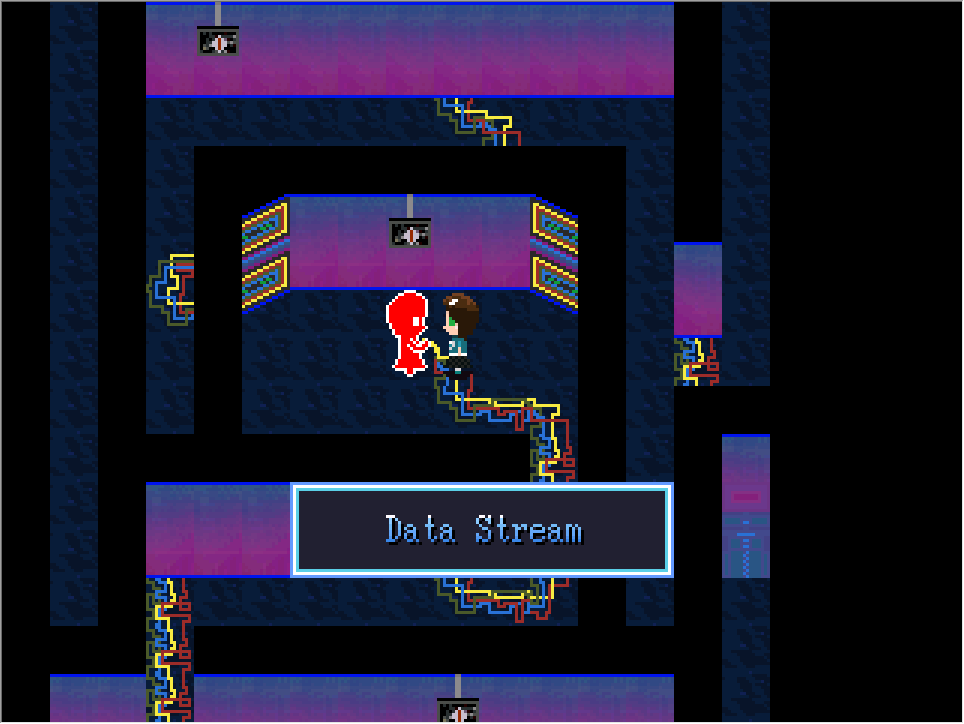
-Data Stream
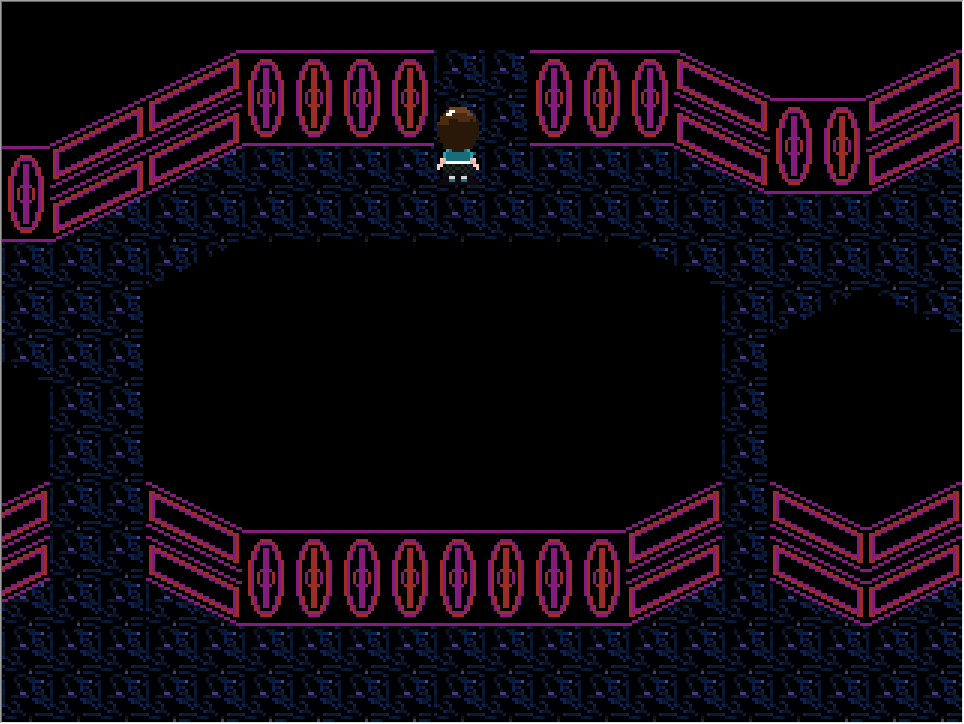
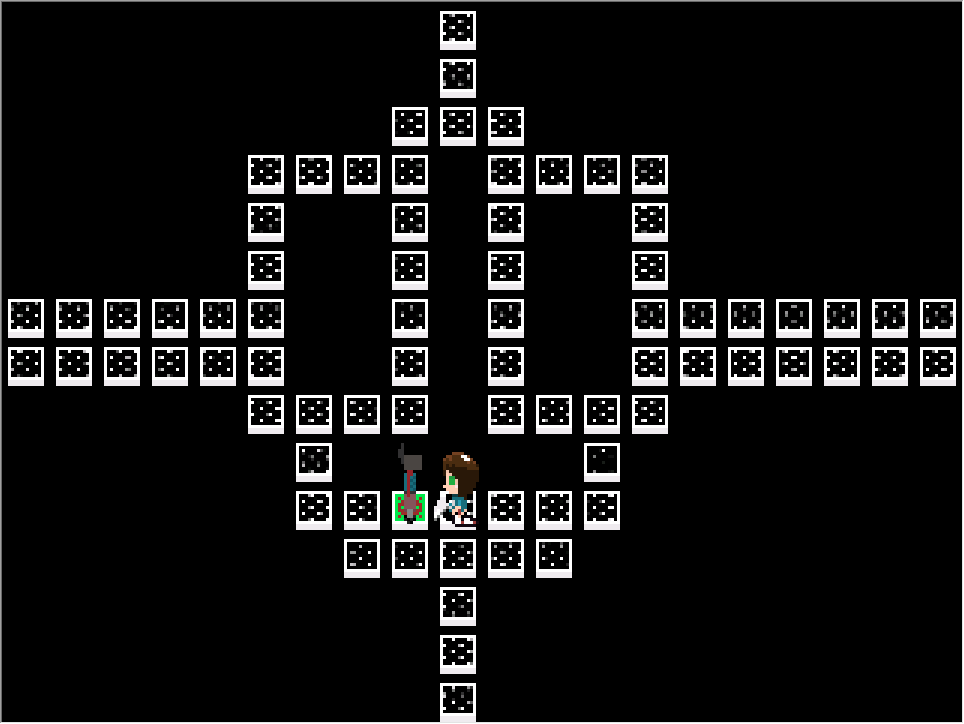
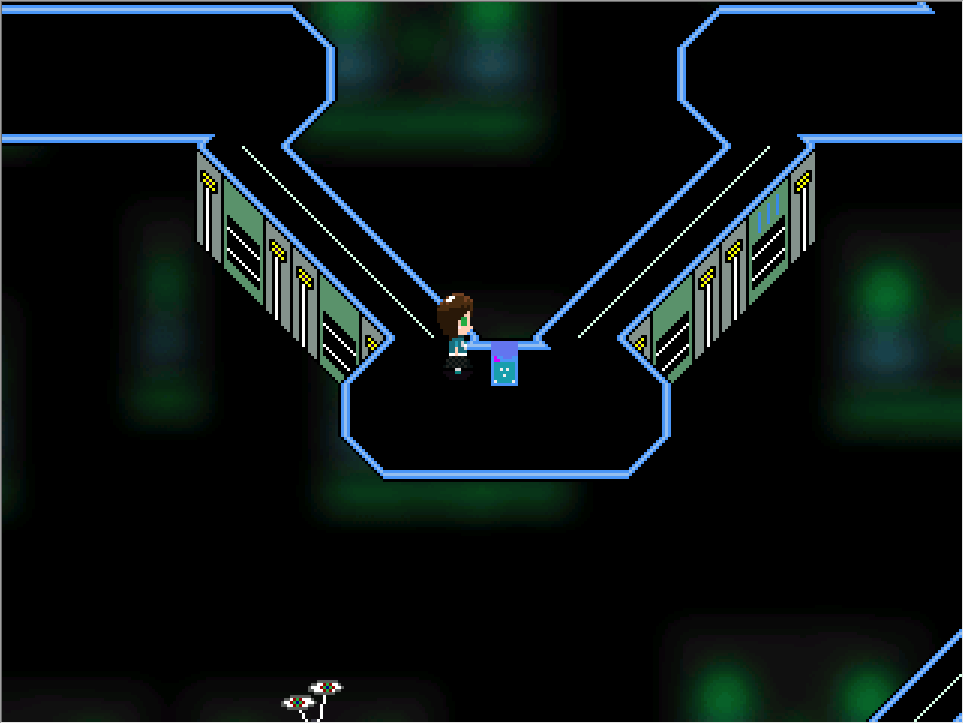
Go back to the four-way intersection and now to the right. Enter the door, and you should arrive here:
This is the biggest map in the game. Go the left and now go up until you reach this point:
Go to the right and then down. Then again to the right following the top path. Stop at this point:
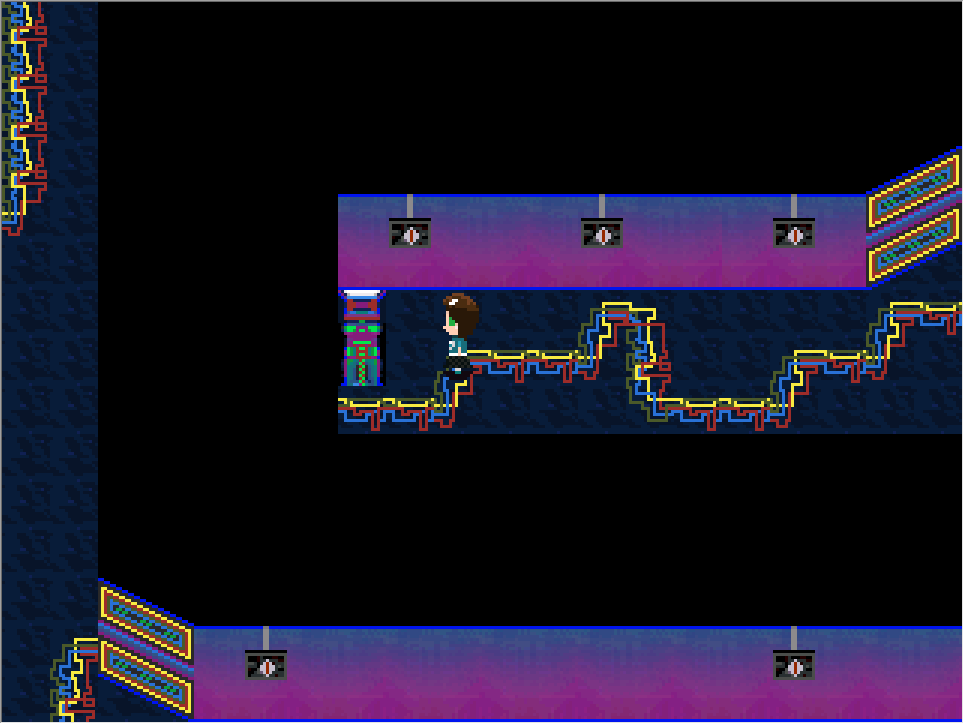
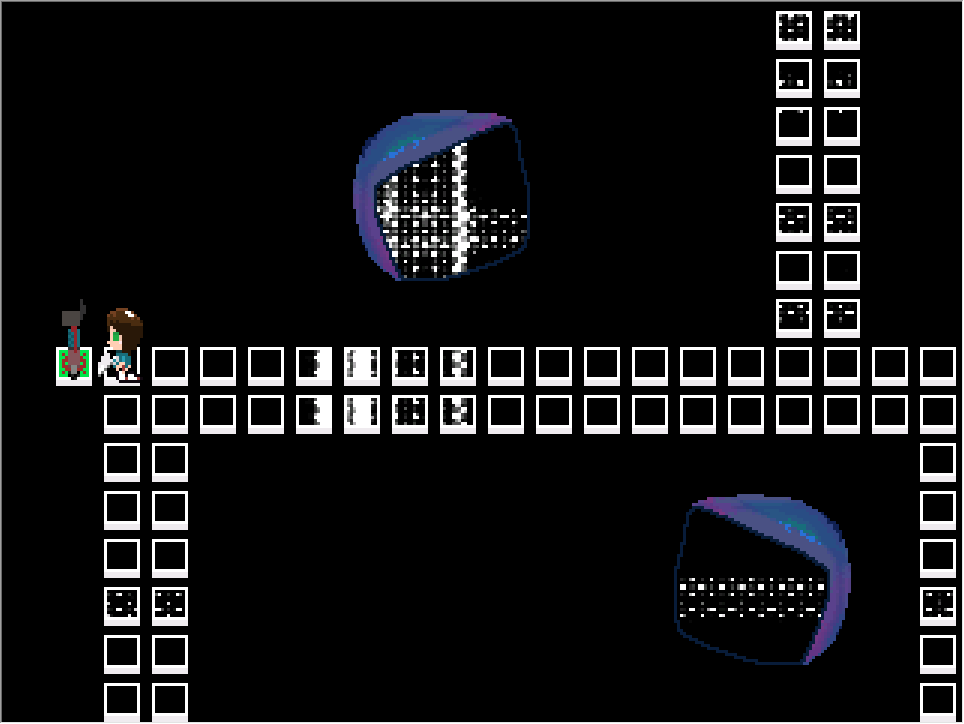
Go down and to the right until you meet the wall. Go down again. Keep going down, don't turn left or right. Keep going until you reach this place and then go through the path to the right:
Go through the maze and interact with the NPC playing with a wire to gain the Data Stream effect:
Left world effects:
-Eyes
To get this effect enter room 10 and interact with the eye on top of a blood puddle:

-Aristocrat
To get this effect keep entering room 7 until you reach this room. Interact with the dress to gain the effect:

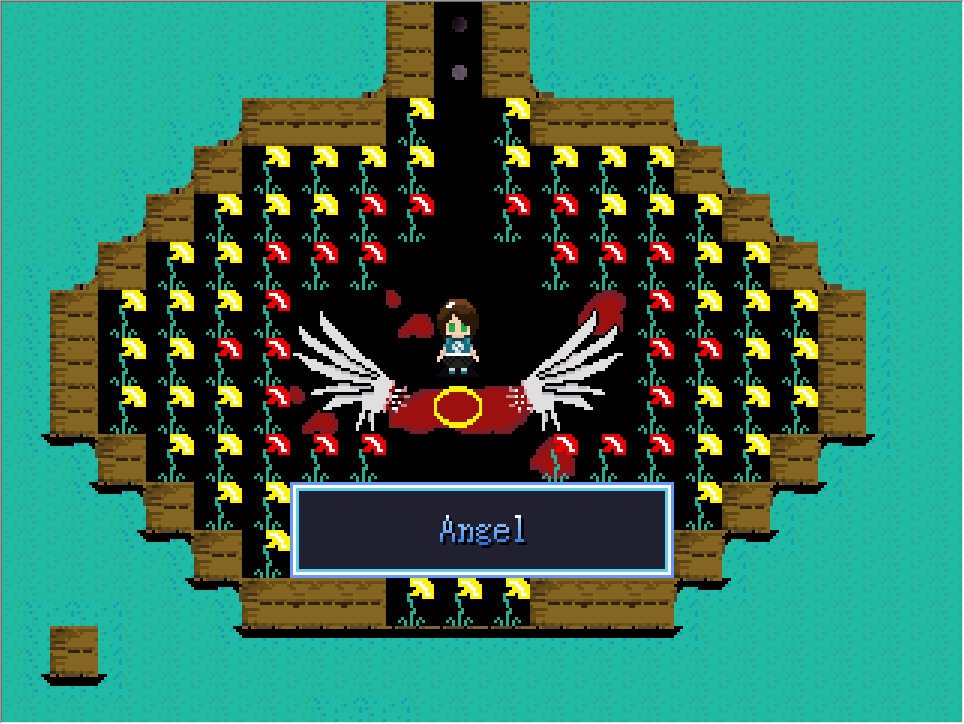
-Angel
Enter room 4 and follow this path:
-Go to the right
-Take the upper path here:

-Keep going
-Take the right path here:
-Keep following the path until you reach a pair of wings and a halo.
Interact with the halo to get the Angel effect:
-Ending 2-
BEFORE STARTING THIS SECTION IT IS RECOMMENDED THAT YOU HAVE ALREADY FOUND AND COLLECTED ALL 12 EFFECTS.
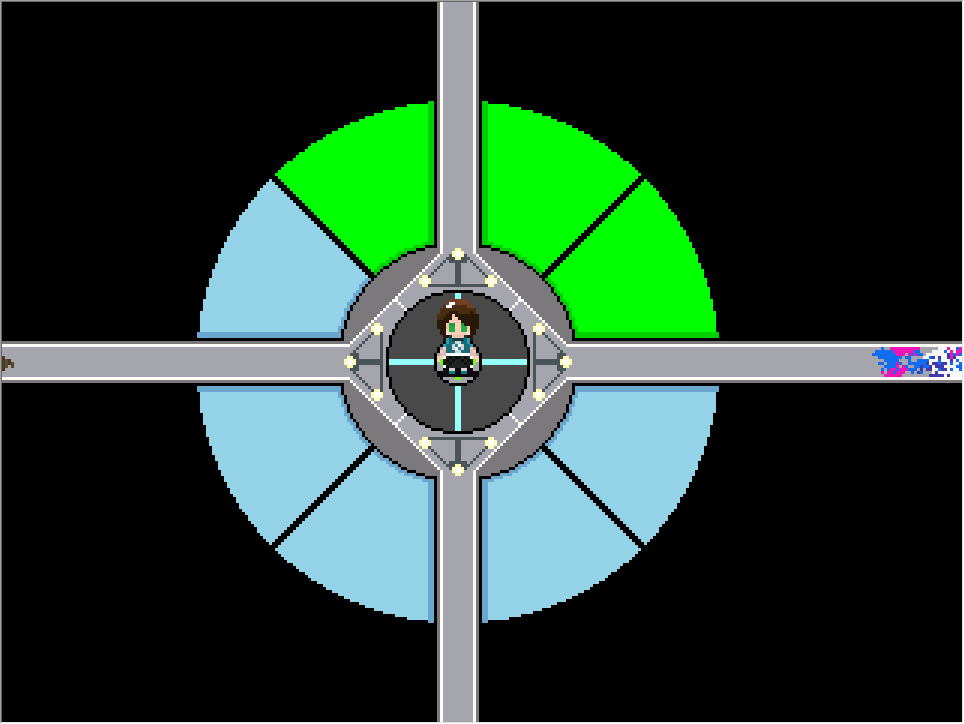
Requirements: Gather all 12 effects and light up all the pieces in the nexus. Once you have done all this, go to the nexus and interact in the middle of the map.
The blue pieces in the nexus are connected to hidden puzzles in each of the worlds. To light them up you need to find the 2 puzzles connected to it, solve them, turn on their switch, and then find the "piece room" which includes the piece switches that can only be used when both puzzle switches belonging to a piece have been activated.
Top world:
Piece Room location:
Go into the building with the bandage NPC's. Follow the path to the bandage effect but instead of taking the door that leads you to the hole, take the door right in front of you.
-Piece 1-
Puzzle 1:
Remember this pattern:
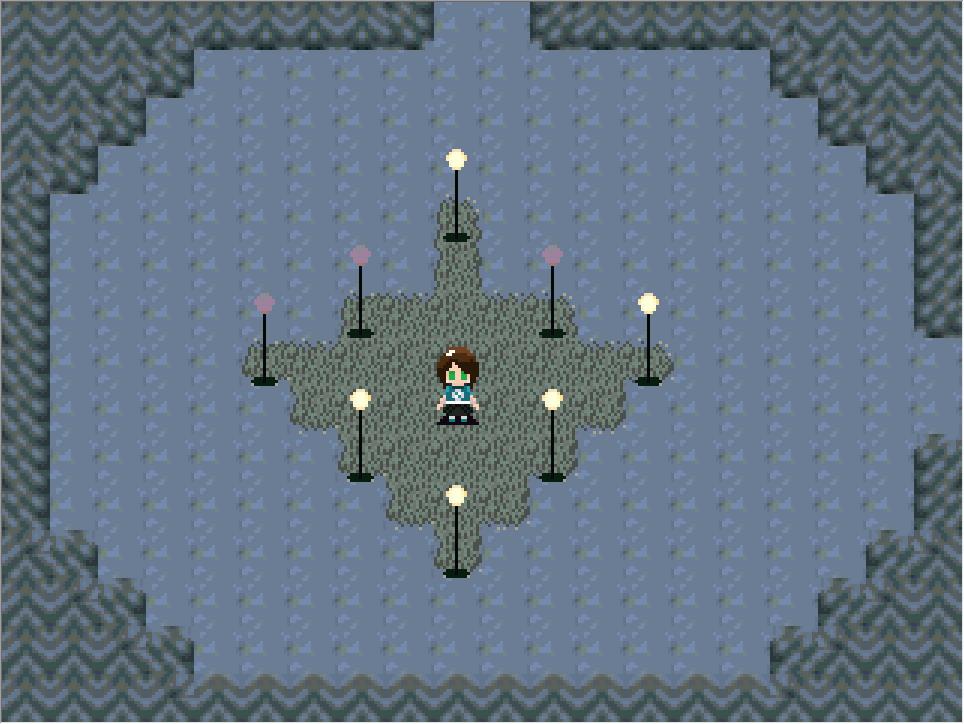
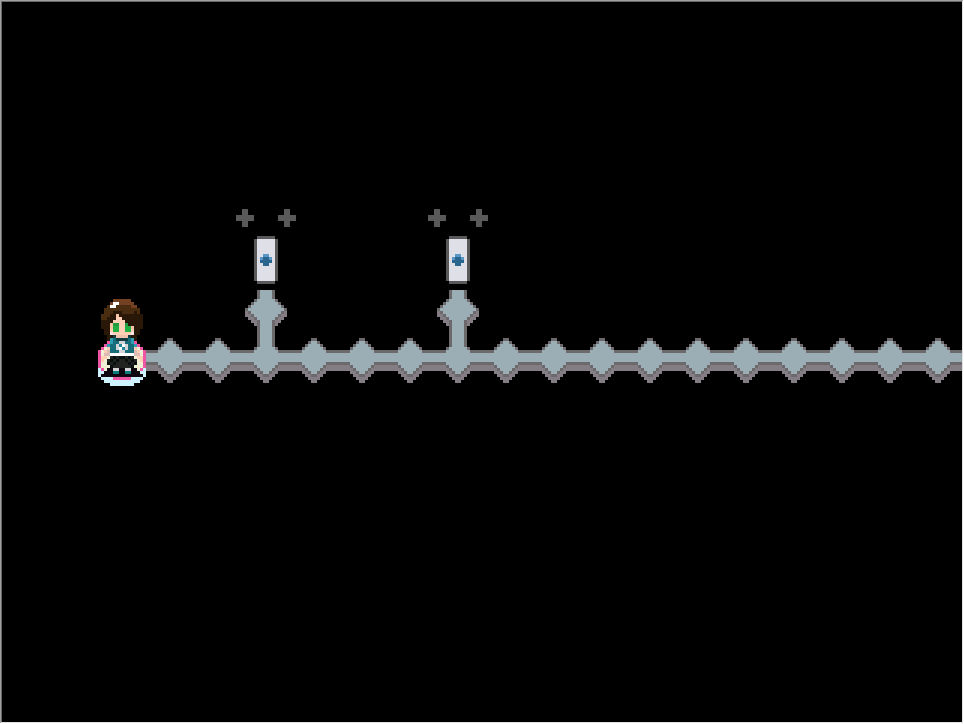
Go to the four way intersection and take the path down and then go down once more. Continue following the path until you get here:

The buttons turn the lights of the three lamps in front and besides them. The middle controls all. Change the lamps until you get them the same way as in the previous picture. Once you've done this the screen will flash and a tombstone will appear.
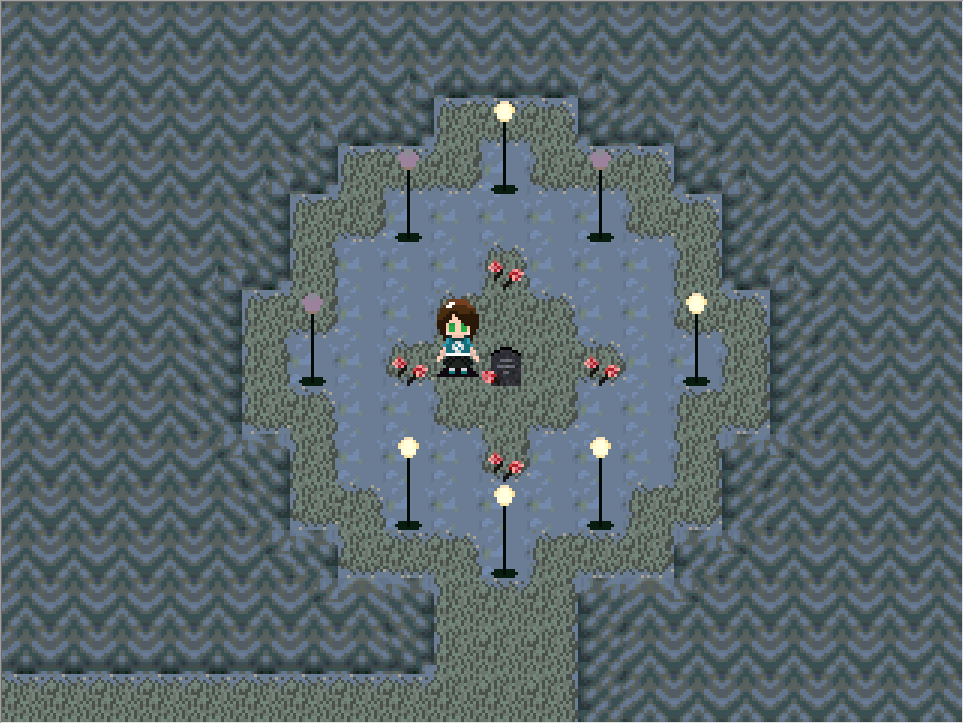
Go back to the place where the first lamp posts were. There should be a door now.
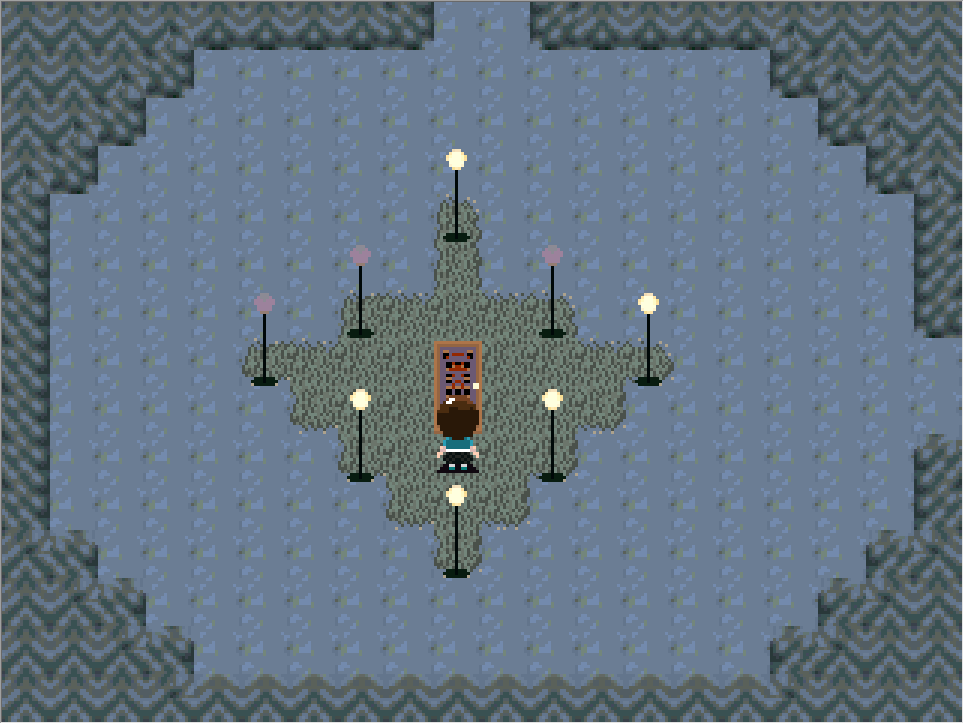
Enter the door and press the button. The light on top will turn on. You have completed Puzzle 1.
Puzzle 2:
Go back to the room before the piece room. Go to the left. There's a chair out of place, you can push it by pressing the action button (Z or space). Put the chair in place.
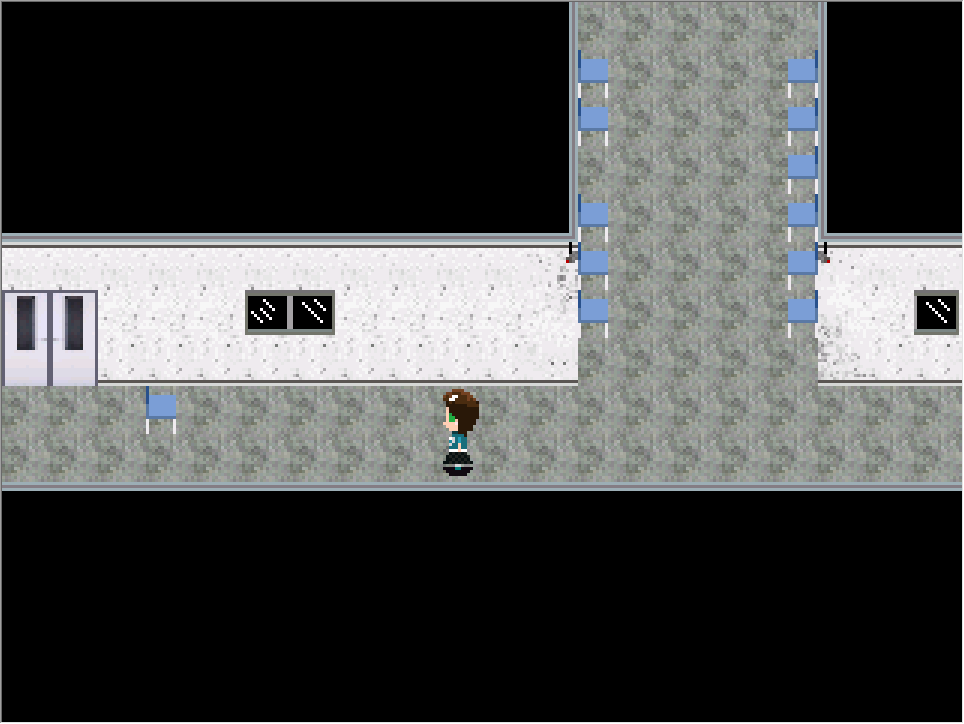
The door to the left is now unlocked. Enter the door, equip the bandage effect, and use the it's SHIFT action to open the curtains.
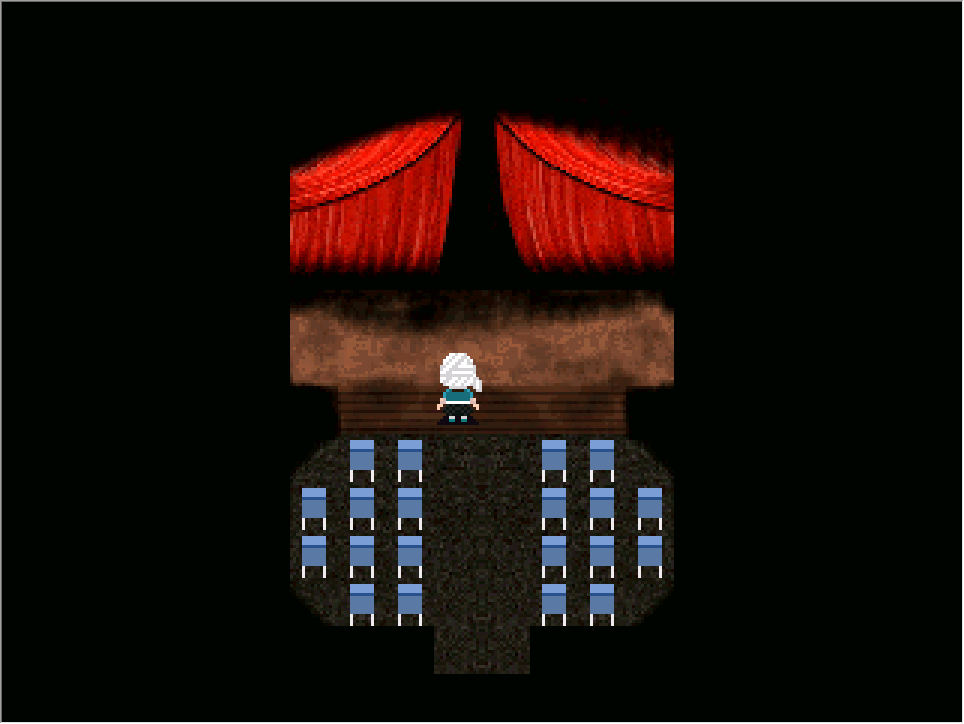
Enter through the curtains and press the switch. You have completed puzzle 2.
Go back to the piece room and you'll notice both lights on top of the left button are now active. Press the button and you will activate the first piece of the nexus.
-Piece 2-
Puzzle 1:
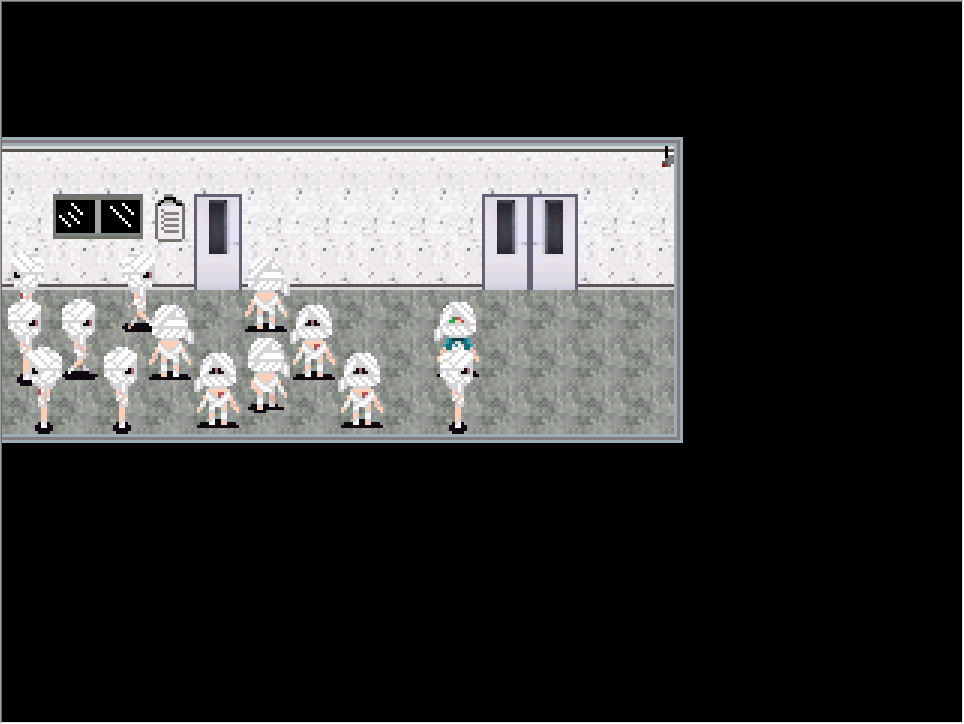
Use the bandage effect inside the building to avoid the bandage monsters. Walk through them until you reach this place and go through the door:
Keep on moving right, cross the bridge, and enter the room. in that room, move downwards and keep going left and go through this door:

In this room you are going to have to remove the bandage effect to move the bandage monster away from the door its blocking. Be careful not to be caught:

Enter the room and go through the hole. Equip the Teke Teke effect and interact with the weird looking thing in the room:
Make you way back, cross the bridge, and take the path to the right. Go across the circle path, enter the now accesible hole and press the switch. You have completed Puzzle 1.
Puzzle 2:
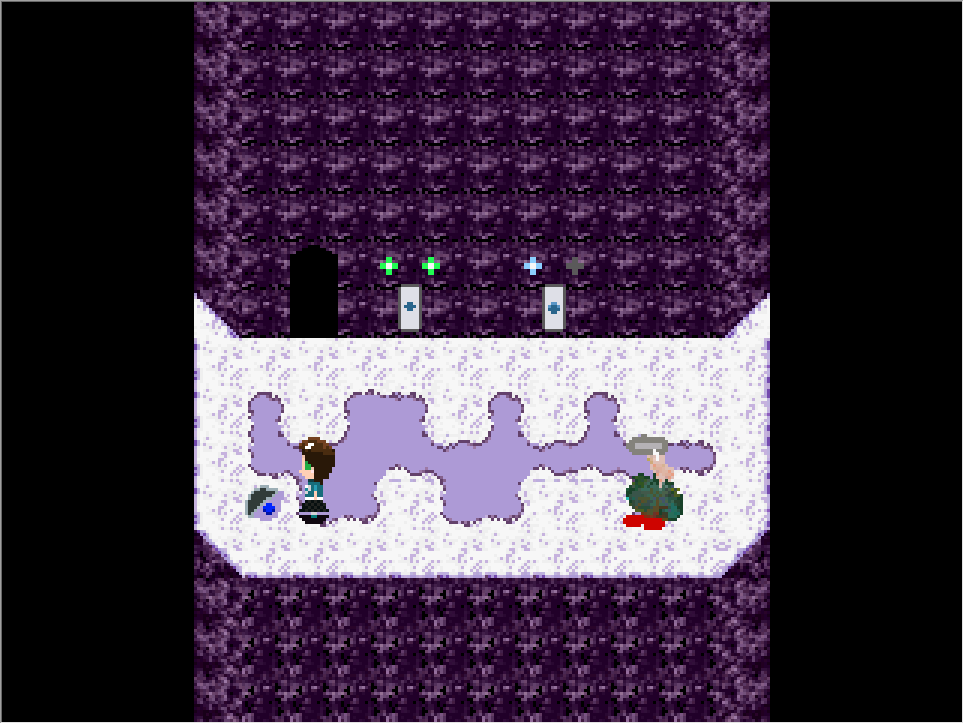
Go to the first screen of this world. You'll notice there are arrows in different maps. Memorize the pattern:

Make your way to this map and follow the bottom right path:
Interact with the hand by following the arrows. Twice while facing the hand to the right, once by facing it downwards, and once by facing it from the left. After you have done this follow the path back to the map with a green NPC. Enter the door and press the switch. You have completed Puzzle 2.

Go back to the piece room and you'll notice both lights on top of the right button are now active. Press the button and you will activate the second piece of the nexus.

Right world:
Piece Room 1 location:
From the entrace, go all the way down and then to the left and enter this cave:
Walk forwads and through the two stones to be teleported to another map. Take the path to the left and you will arrive at the Piece Room:
Piece Room 2 location:
Follow the path to the glitch effect. Don't take the stairs to the glitch world, instead, take the last set of stairs. Advance one map to the right and in the black and white 4 way intersection take the bottom path.
-Piece 3-
Puzzle 1:
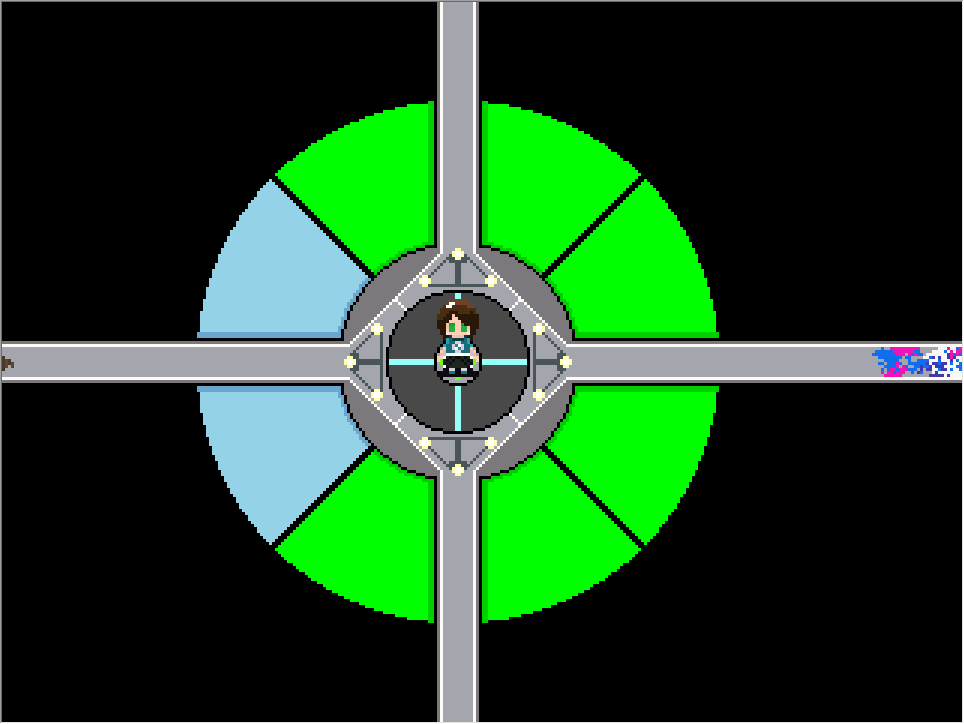
From the 3 way intersection that leads to the piece room, take path to the right, follow the path and you'll reach this map:
To complete this puzzle you must lead the blue NPC to the blue circle and the yellow NPC to the yellow circle. The right button turns the blue npc to the right and the yellow npc. The left button does the opposite, down button moves the NPCs forward. Once you've accomplished getting them both into place, go back one map and press the switch. You have completed puzzle 1.
Puzzle 2:
From the 3 way intersection that leads to the piece room, take path to the right, follow the bottom path, then, go to the right and take the elevator. Go to the right once more and equip the angel effect. Press Z at the end of the bridge and then press the switch. You have completed puzzle 2.

Go back to any of the 2 piece rooms and you'll notice both lights on top of the left button are now active. Press the button and you will activate the third piece of the nexus.
-Piece 4-
Puzzle 1:
Make you way to the place before the glitch effect. Take the last set of stairs. Keep going right and enter the hole in the map. Equip the aristocrat effect and paint the yellow button red. The door will unlock. Press the switch. You have completed puzzle 1.
Puzzle 2:
Make your way to the second piece room. interact with the rock in the bottom left corner and press the button. A secret entrance will be revealed. enter the hole and press the switch. You have completed puzzle 2.

Go back to any of the 2 piece rooms and you'll notice both lights on top of the right button are now active. Press the button and you will activate the fourth piece of the nexus.
Bottom world:
Piece Room 1 location:
From the entrance, go to the right and take the upper path in the 4 way intersection:
Piece Room 2 location:
Go to the smartphone. Take the right path. follow the path until you reach the purple building. Inside the purple building move to the left until you find another hole in the world. The hole leads to the piece room:
-Piece 5-
Puzzle 1:
Make your way to the big map where the Data Stream effect is and look for this thing:
Interact with it and you'll be teleported to another map. Memorize the arrow pattern in the building with the locked door:
There are four buttons across the map labeled each with one of the four arrows. You must activate the four buttons in the order it's depicted in the wall. You have 15 seconds to do so, use the data stream effect. If you did this correctly the door will unlock. enter and press the switch. You have completed puzzle 1.
Puzzle 2:
Go to the smartphone map. Take the left path and follow it. Keep going until you are teleported to a big map. Move downwards until you find a heart made out of white tiles:
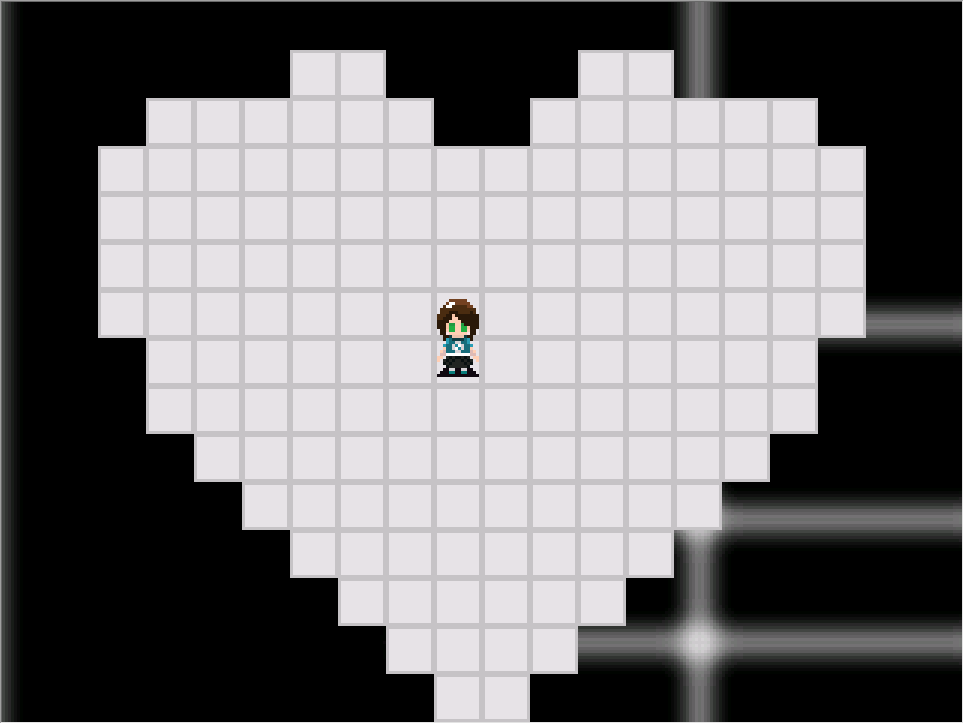
Below it are blue tiles that mirror some of the heart's tiles. Interacting with them will give you words. Count the letters in the word and that's the order you have to interact with the tiles they are mirroring. After you do this the heart should turn green and a door should appear to the right of the heart, enter the door and press the switch. You have completed puzzle 2.
Go back to any of the 2 piece rooms and you'll notice both lights on top of the left button are now active. Press the button and you will activate the fifth piece of the nexus.
-Piece 6-
Puzzle 1:
The puzzle is located in this map:
Interact with the NPC and it will spell out a code. Change into the Binary effect. The wall says 1:0 2:1 K. Press they 1 key to turn into a 0 and the 2 key to turn into 1. Spell out the code the white NPC gives and the door will unlock. Enter the door and press the switch. You have completed puzzle 1.
Puzzle 2:
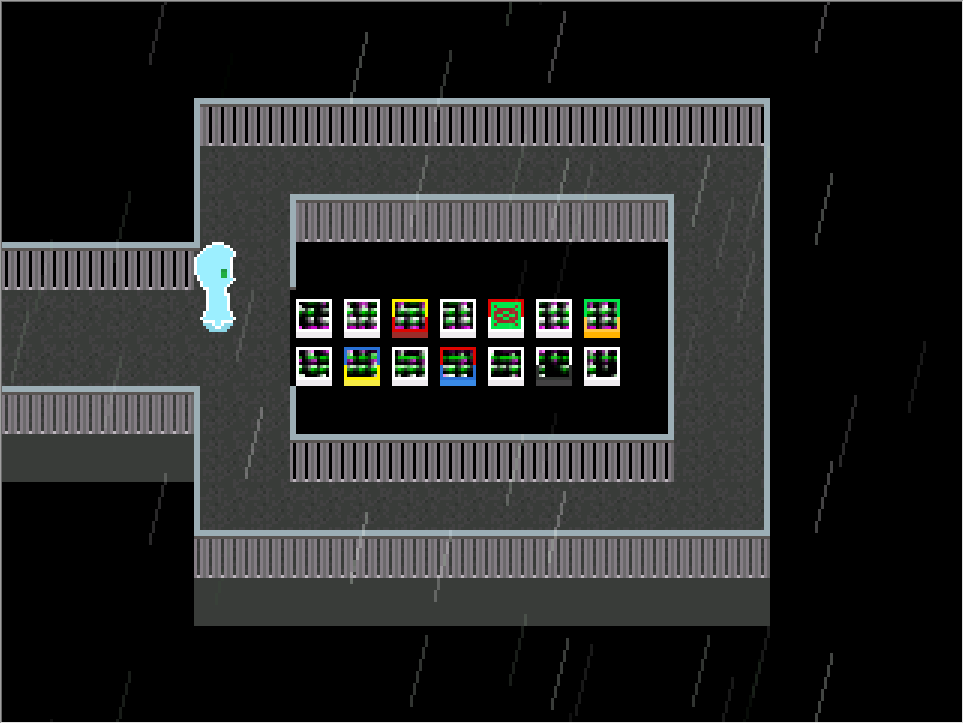
To start this puzzle you must reach this map:

Equip the Battery effect and interact with the button. The screen will change. You must kill with the Teke Teke effect 4 TV NPCs standing on top of different tv tiles. These are their locations:
To get this one, you must chase him using the Teke Teke effect.

This one is a bit tricky.
This is the place it must be:
If you pay attention, you'll notice the tv's have certain colors. The target one being White and Red. Go to this map and find the NPC:
Use the buttons to move the NPC to the color red and white make when combined. if done correctly the NPC will spawn where it needs to:
Go back to the screen room and you'll notice the door is now unlocked. Enter and press the button, You have completed puzzle 2.
Go back to any of the 2 piece rooms and you'll notice both lights on top of the right button are now active. Press the button and you will activate the sixth piece of the nexus.
Left world:
Piece Room location:
Room 01:

-Piece 7-
Puzzle 1:
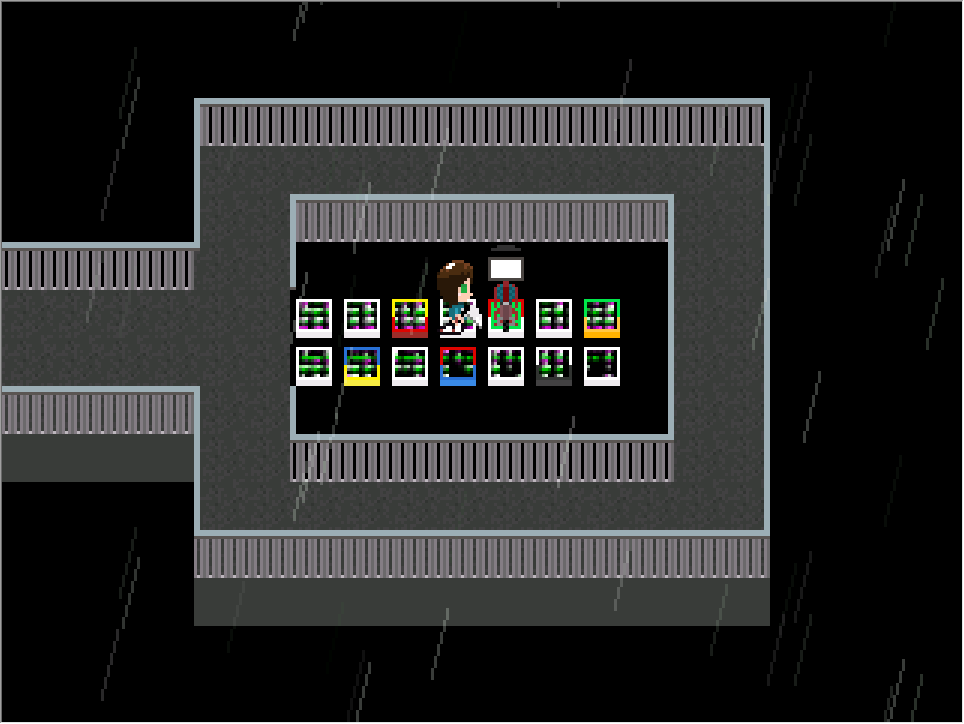
There's a room locked by a keypad code. The combination is hidden in Paintings throughout the world. You must input the numbers from right to left like shown in this pic. Pay attention at how the eyes are looking at the painting:
The red painting is blocked by an NPC. Kill the NPC and use the Smartphone effect on the blue QR code in the wall to reveal the red painting:
Once you have the code, input it and enter the door. Press the button. You have completed puzzle 1.
Puzzle 2:
Enter room 04 and go to the left. Interact with the weird mural. You'll be teleported to another map:
In this map pay close attention to the walls. There are 3 that are not flashing and have a number in between them. Memorize the color and the number. Equip the Eyes effect and interact with the eye sensors in the order specified by the walls. Then, interact with this object:
You'll be teleported straight to the button. Press it. You have completed puzzle 2.
Go back to the piece room and you'll notice both lights on top of the left button are now active. Press the button and you will activate the seventh piece of the nexus.
-Piece 8-
Puzzle 1:
Enter room 08. Walk through the white floor. Equip the Negative effect and walk through the white floor once again. Press the button. You have completed puzzle 1.
Puzzle 2:
Find the map hidden in map 04. Memorize the location marked on the map and go to that room. Interact with the location and then press the button. You have completed Puzzle 2.
Go back to the piece room and you'll notice both lights on top of the right button are now active. Press the button and you will activate the eigth piece of the nexus.
Leave a comment
Log in with itch.io to leave a comment.